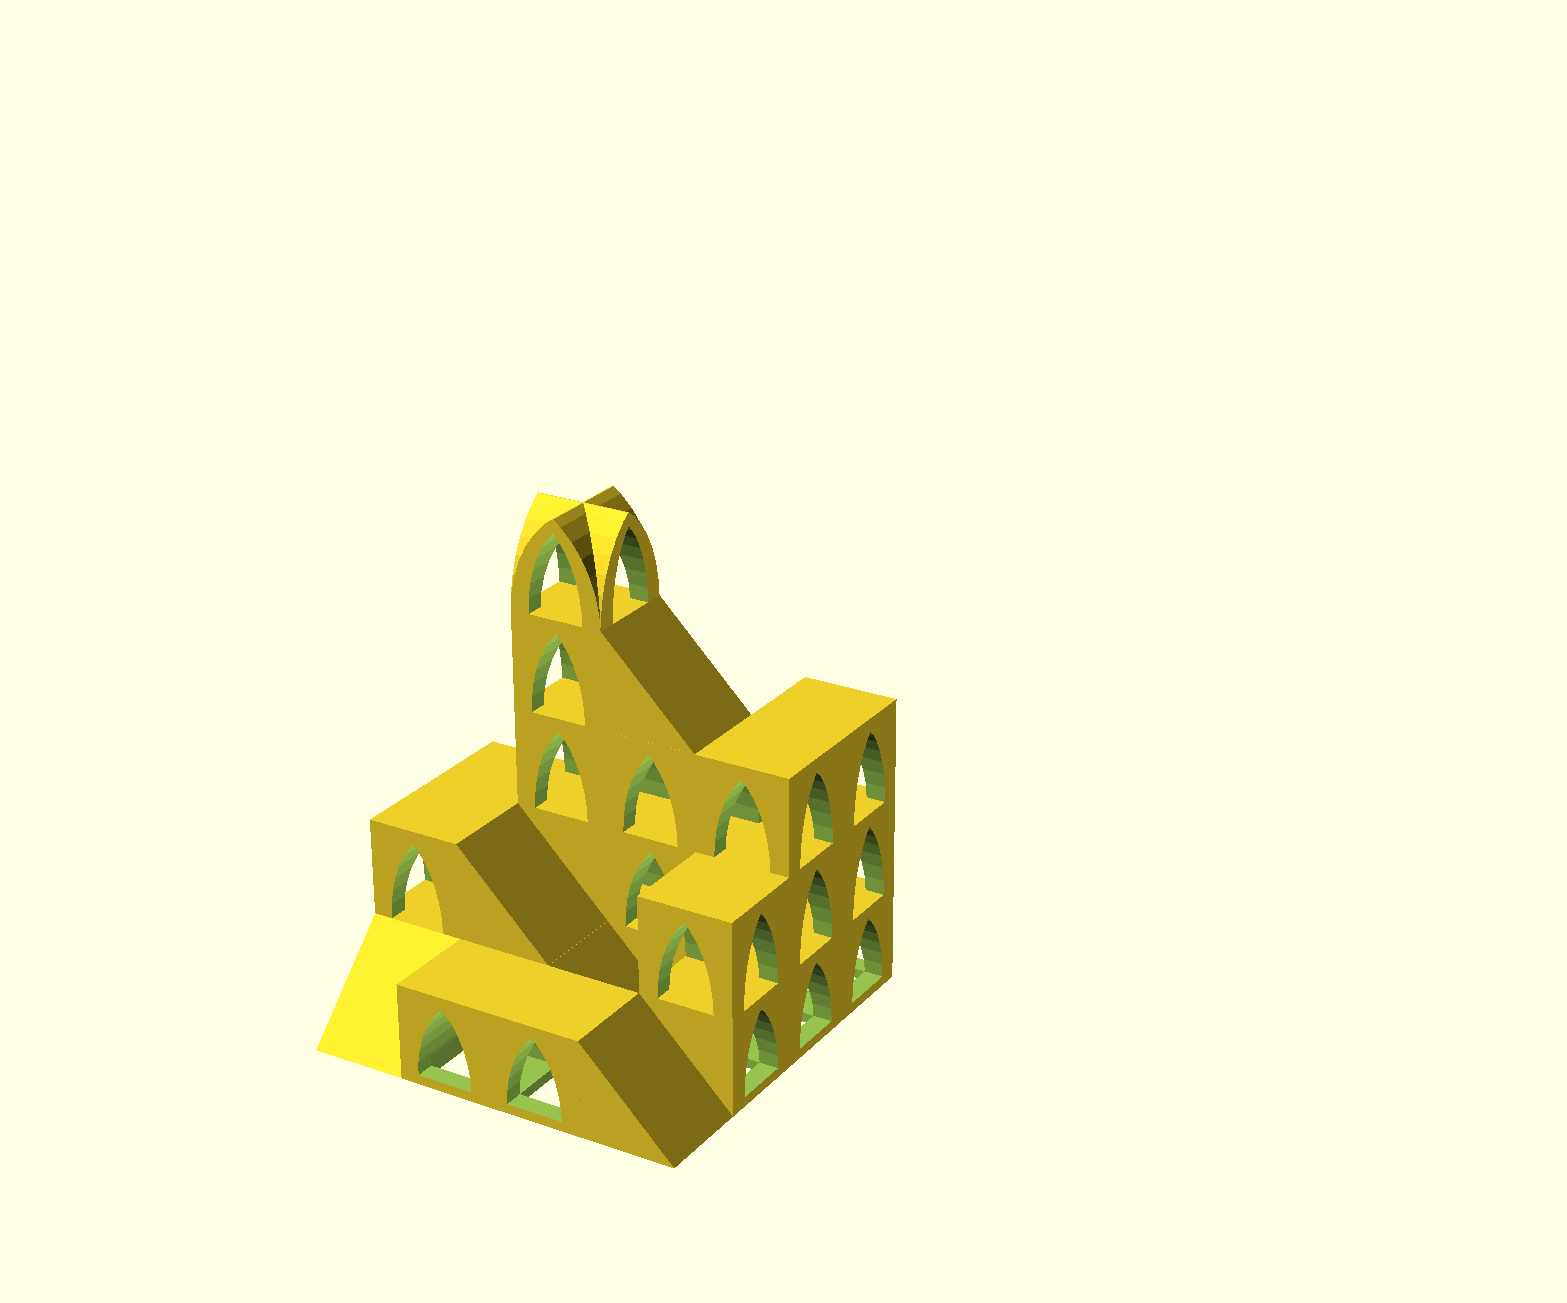
Parapet allows you to easily create 3D architectural models for printing on a 3D printer.
It uses a block-style construction method with a palette of over 60 blocks, with more planned in the future.
You simply select the block you want and tap on the grid to place it. You can also swipe out a path in the design grid and Parapet will intelligently place blocks along the path.
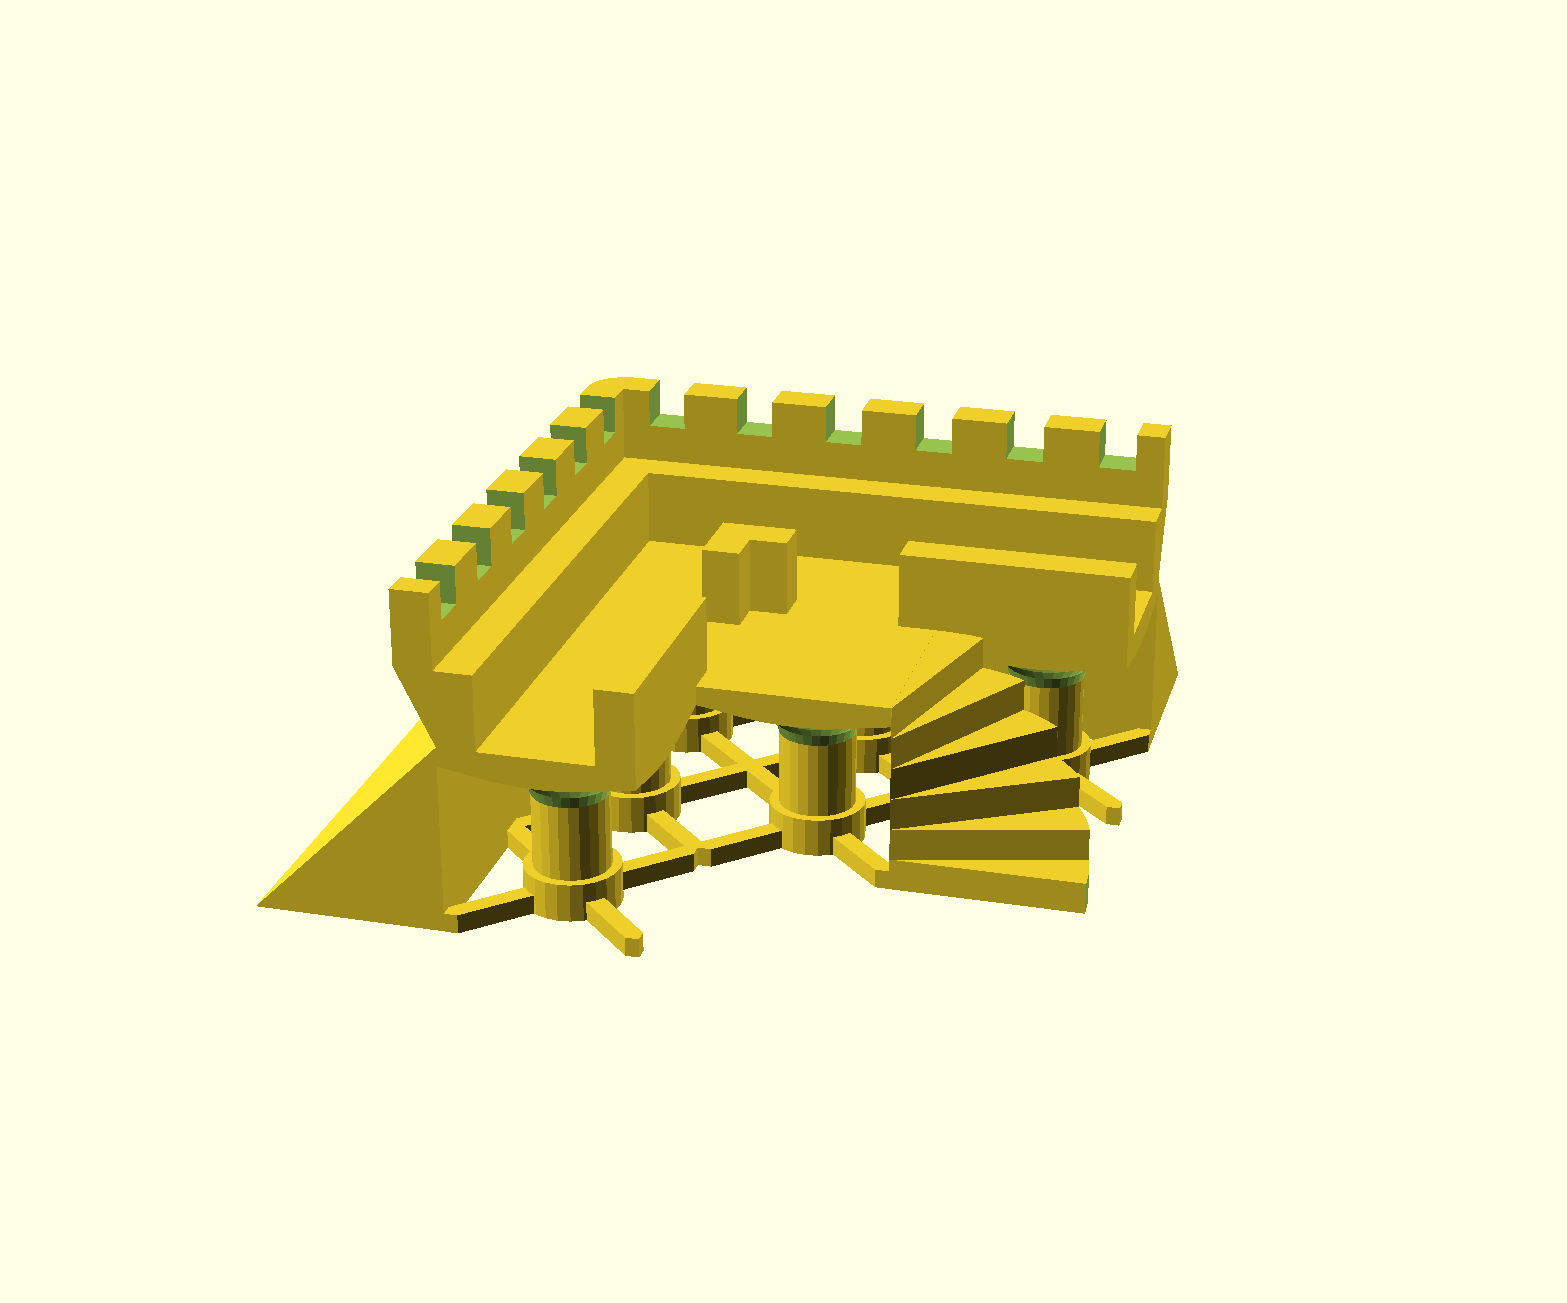
Many of the basic types of block (4-way cross, corner, etc) come in several styles, and there are specialised blocks such as spiral stairs and ramps, support columns, etc.

- Design Grid
-
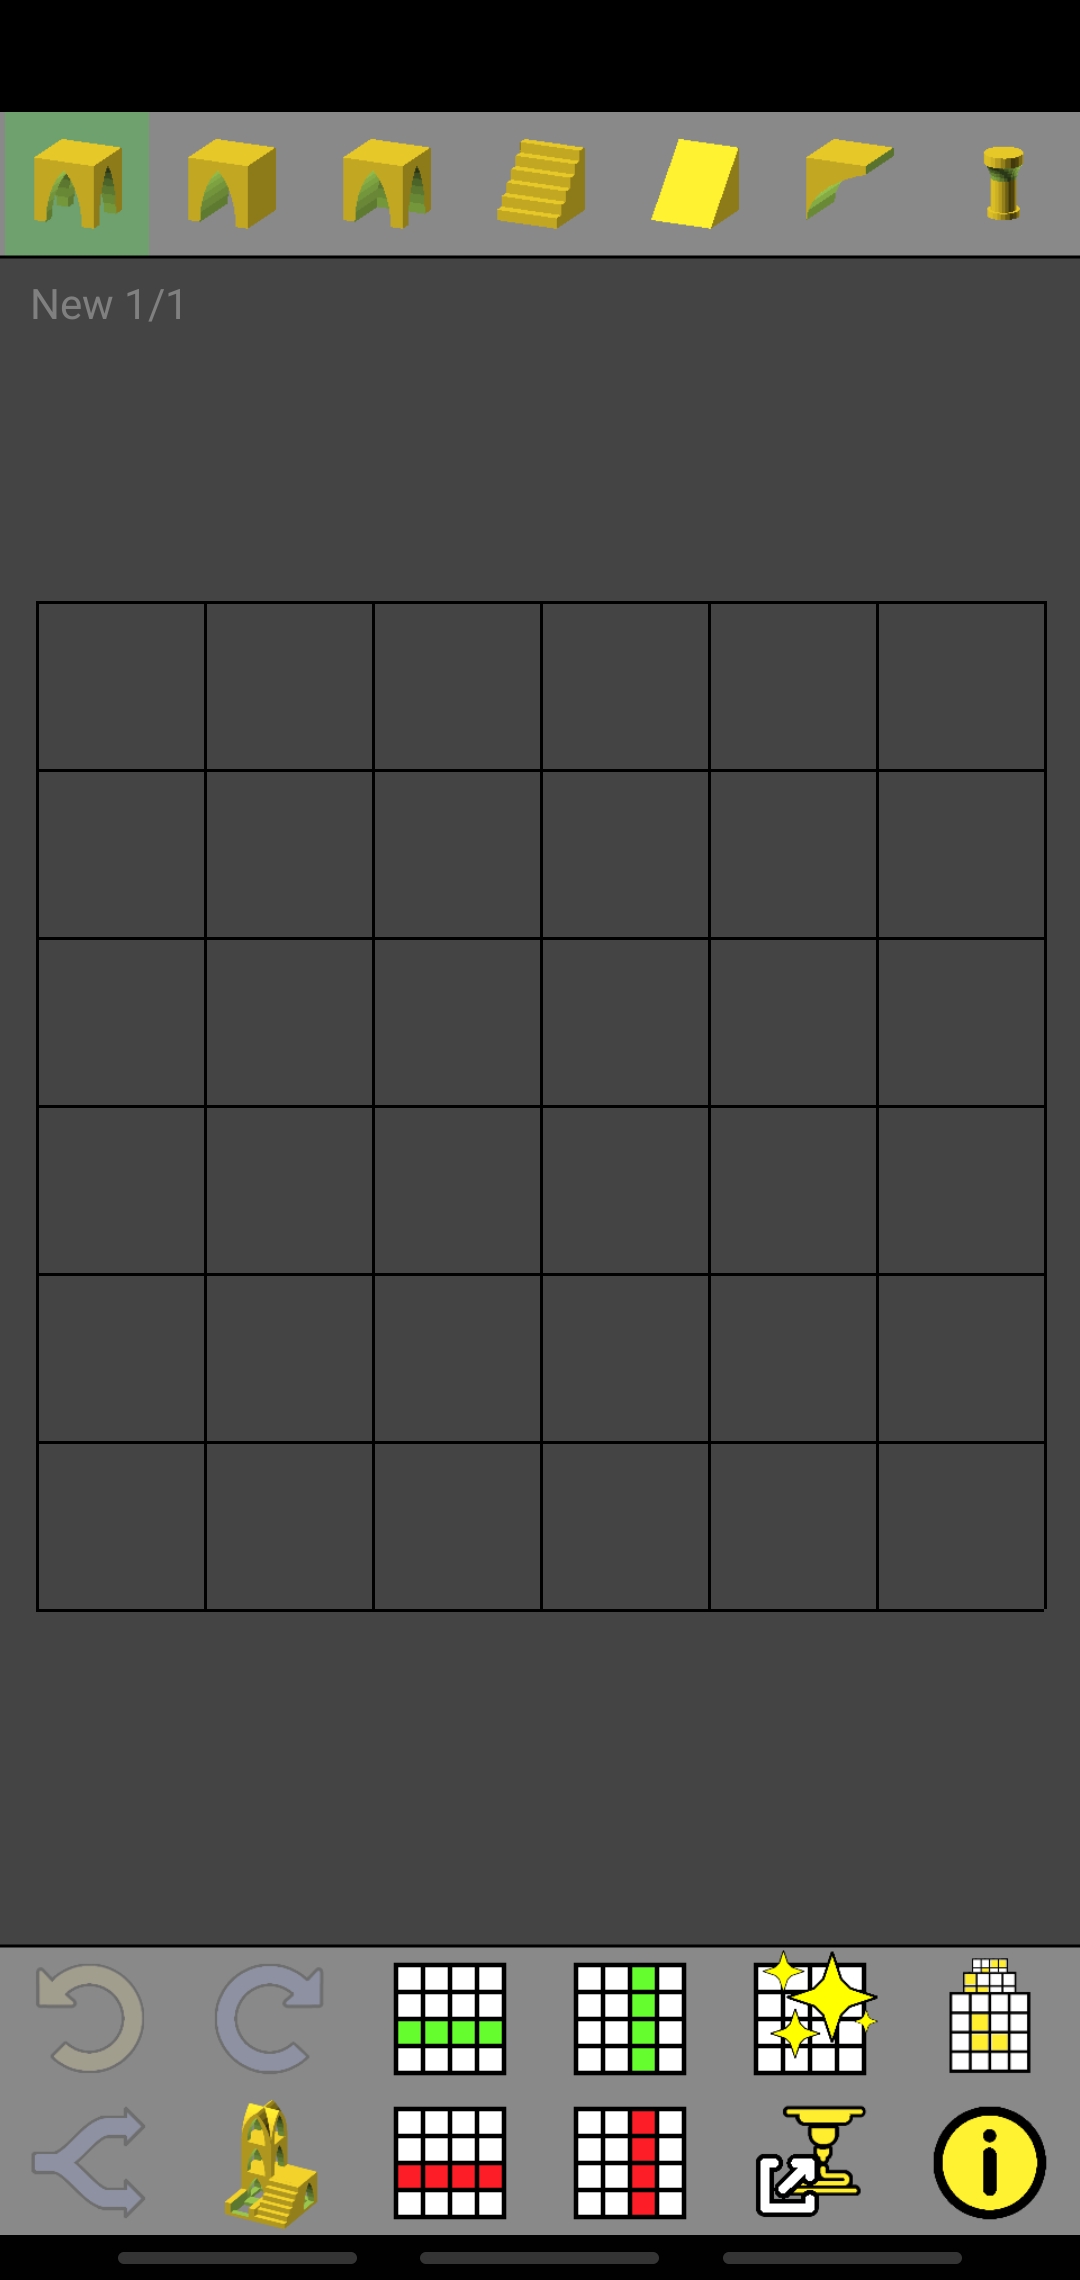
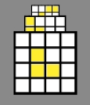
 This is where you design your model. Pressing on an empty square will place the current Shape from the selected Shape Group,
which is the one with the green highlight.
This is where you design your model. Pressing on an empty square will place the current Shape from the selected Shape Group,
which is the one with the green highlight.
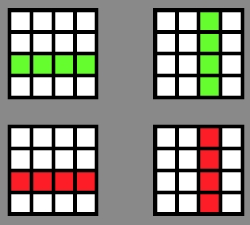
- Shape Groups
 These appear at the top of the screen. The currently selected shape for each is displayed.
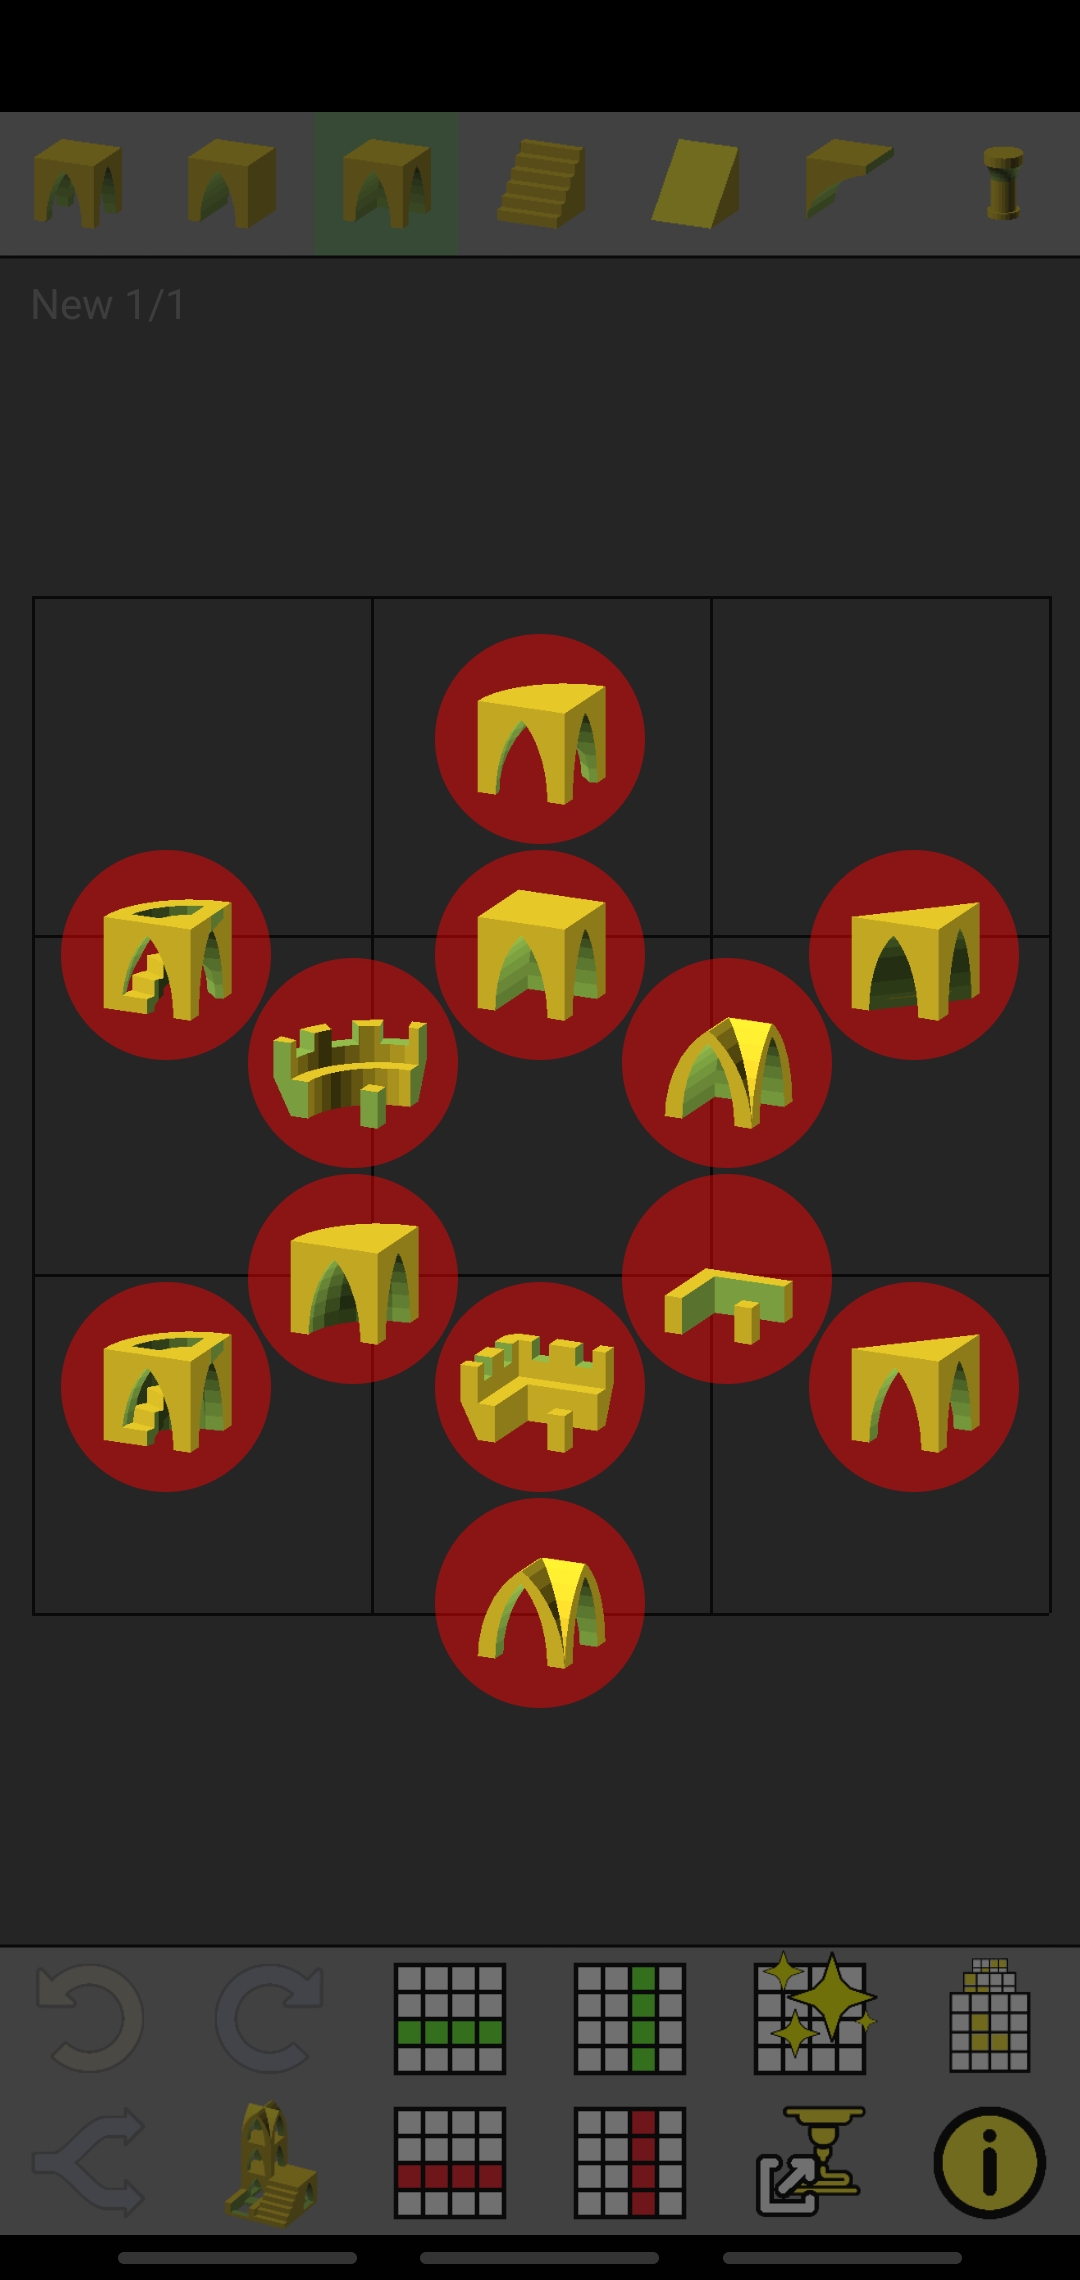
The current group is indicated by the green highlight. You can change the
current shape for a group by long-pressing on the group
and selecting a new shape.
These appear at the top of the screen. The currently selected shape for each is displayed.
The current group is indicated by the green highlight. You can change the
current shape for a group by long-pressing on the group
and selecting a new shape.- Undo & Redo
-
 You can undo and redo all actions, including grid and level changes.
- Branch
-
 If you undo a series of actions and start over, you can then undo back to the point where you
restarted and see the alternative that you previously rejected, and switch back to that
branch if desired. See Branching for more details.
If you undo a series of actions and start over, you can then undo back to the point where you
restarted and see the alternative that you previously rejected, and switch back to that
branch if desired. See Branching for more details.
- Model View
-
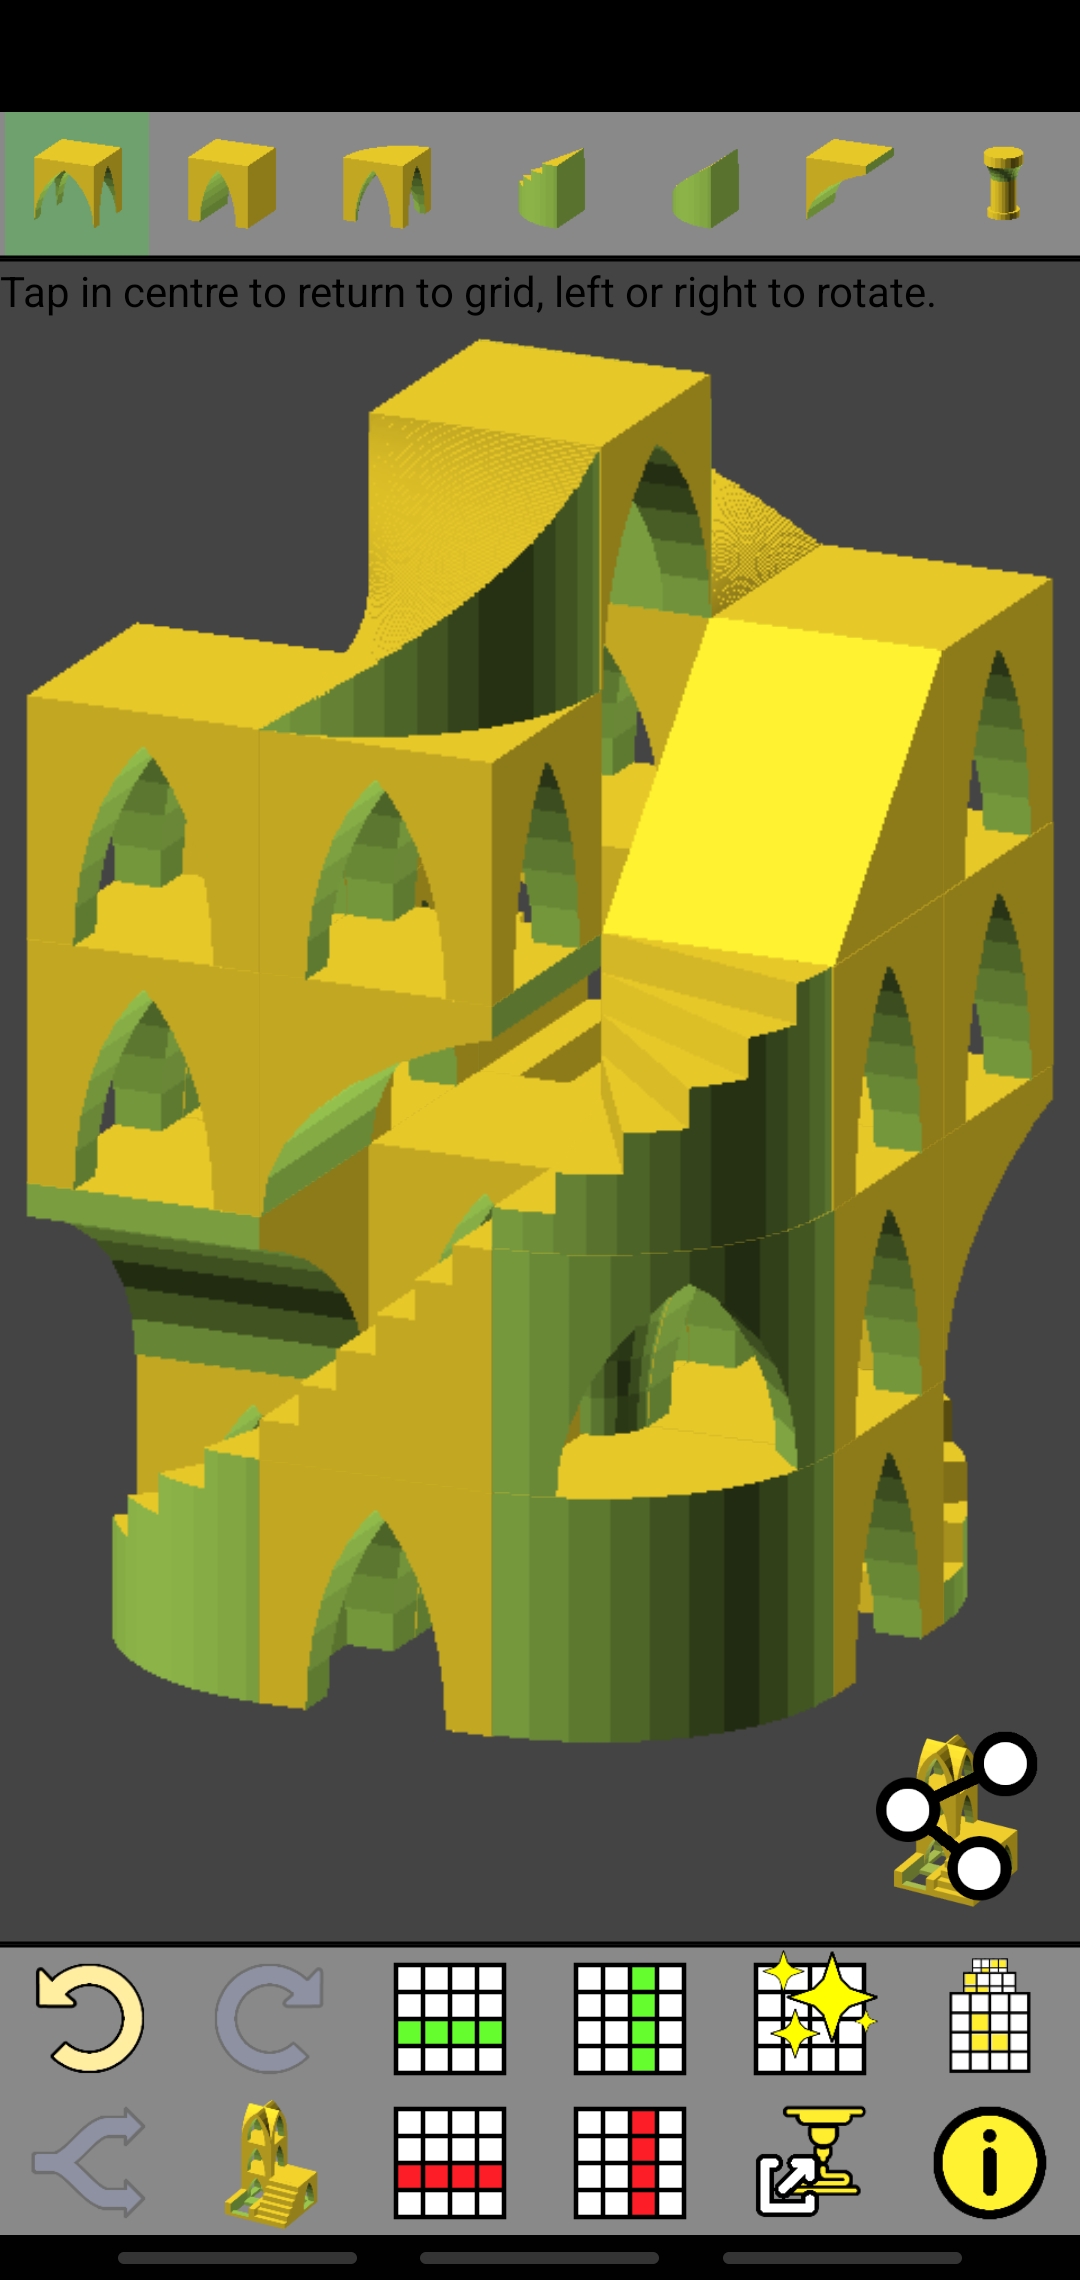
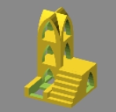 Shows a 3D view of the model. You can rotate the view by pressing on the left or edge of the view,
or press in the centre of the view to close it (or press the button again).
Shows a 3D view of the model. You can rotate the view by pressing on the left or edge of the view,
or press in the centre of the view to close it (or press the button again).
- Grid Sizing
-
 You can add or remove rows and columns from the grid as required.
- Clear
-
 Clearing the grid allows work on a new model. If the current model hasn't been saved, you'll
be asked whether to save or not.
Clearing the grid allows work on a new model. If the current model hasn't been saved, you'll
be asked whether to save or not.
- History
-
 Open a previous saved model. If the current model hasn't been saved, you'll
be asked whether to save or not.
Open a previous saved model. If the current model hasn't been saved, you'll
be asked whether to save or not.
- Export
-
 Request an STL file for the current model. See Exporting for more details.
- Info
-
 Display the Information window. This has contact to the website and also allows the ability to backup your models or to reset your storage
and start again.
Display the Information window. This has contact to the website and also allows the ability to backup your models or to reset your storage
and start again.
- Level Control
-
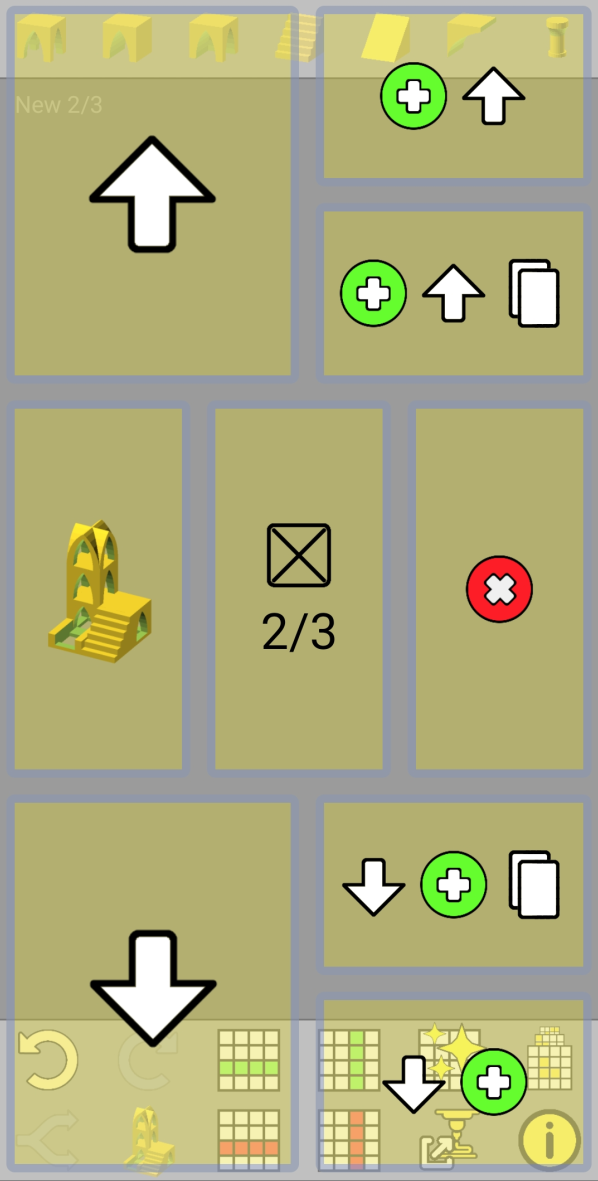 Pressing on the current Shape Group will open the Level Control window.
You can add or remove levels from the model at any time. When adding, you can
add a copy of the current level instead of a blank level.
You can also open the Model View from this window.
Press in the centre of the window to close it.
Pressing on the current Shape Group will open the Level Control window.
You can add or remove levels from the model at any time. When adding, you can
add a copy of the current level instead of a blank level.
You can also open the Model View from this window.
Press in the centre of the window to close it.
- Exporting
-
The purpose of Parapet is to produce STL files which can be printed on any 3D printer. It does this by transforming the model design into an OpenSCAD model, which can then be exported to STL.
Currently, the way this is done is by mailing the OpenSCAD model file as an attachment to us here at Parapet HQ. We can then load that model using our proprietary shape library and export it to STL, which we will email back to you.
This process will be free for the foreseeable future; any changes will be signalled well in advance.
You retain all copyrights to your models and we won't store, distribute, publish, etc any of your content without your permission. You have to trust us on this, but hey, this is our free software you're using.
- OpenSCAD
OpenSCAD is the The Programmers Solid 3D CAD Modeller. If you tend to prefer refining a program and re-running it until it works as opposed to dragging points around a design and wondering why these 2 points WON'T. JUST. SNAP. TOGETHER., then I heartily recommend it. It does tend to lend itself more to geometric shapes than abstract or organic forms.
- Saving
-
All saving in Parapet is automatic. When you first open the app, or after you've cleared a model, you're working in the default model (which is also saved automatically). Think of the default model as a model called New that you aren't allowed to overwrite.
If you're working in the default model and you clear the model or open a previous model, Parapet will ask you whether the contents of the default Model should be saved. If you do save the model, any future changes to the model are automatically saved.
If you discard changes to the default model, those changes are gone forever.
Previous models are loaded using the History button; you can also remove models here by long-pressing on the model name.
- Branching
-
Think of Branching as a permanent historical record of changes you've made to your model. Any state that the model has been in can be revisited using the Branch tool; all you need to know is the actions you've taken since that state, and then undo those actions.
As an example, maybe you're not sure whether a model should use round corners or square corners. You can build it one way, leaving the corners till last, then undo the corners and do them again in the other style. You can now go back to the point where you finished undoing and view or switch to the alternative style.
- Printable Models
-
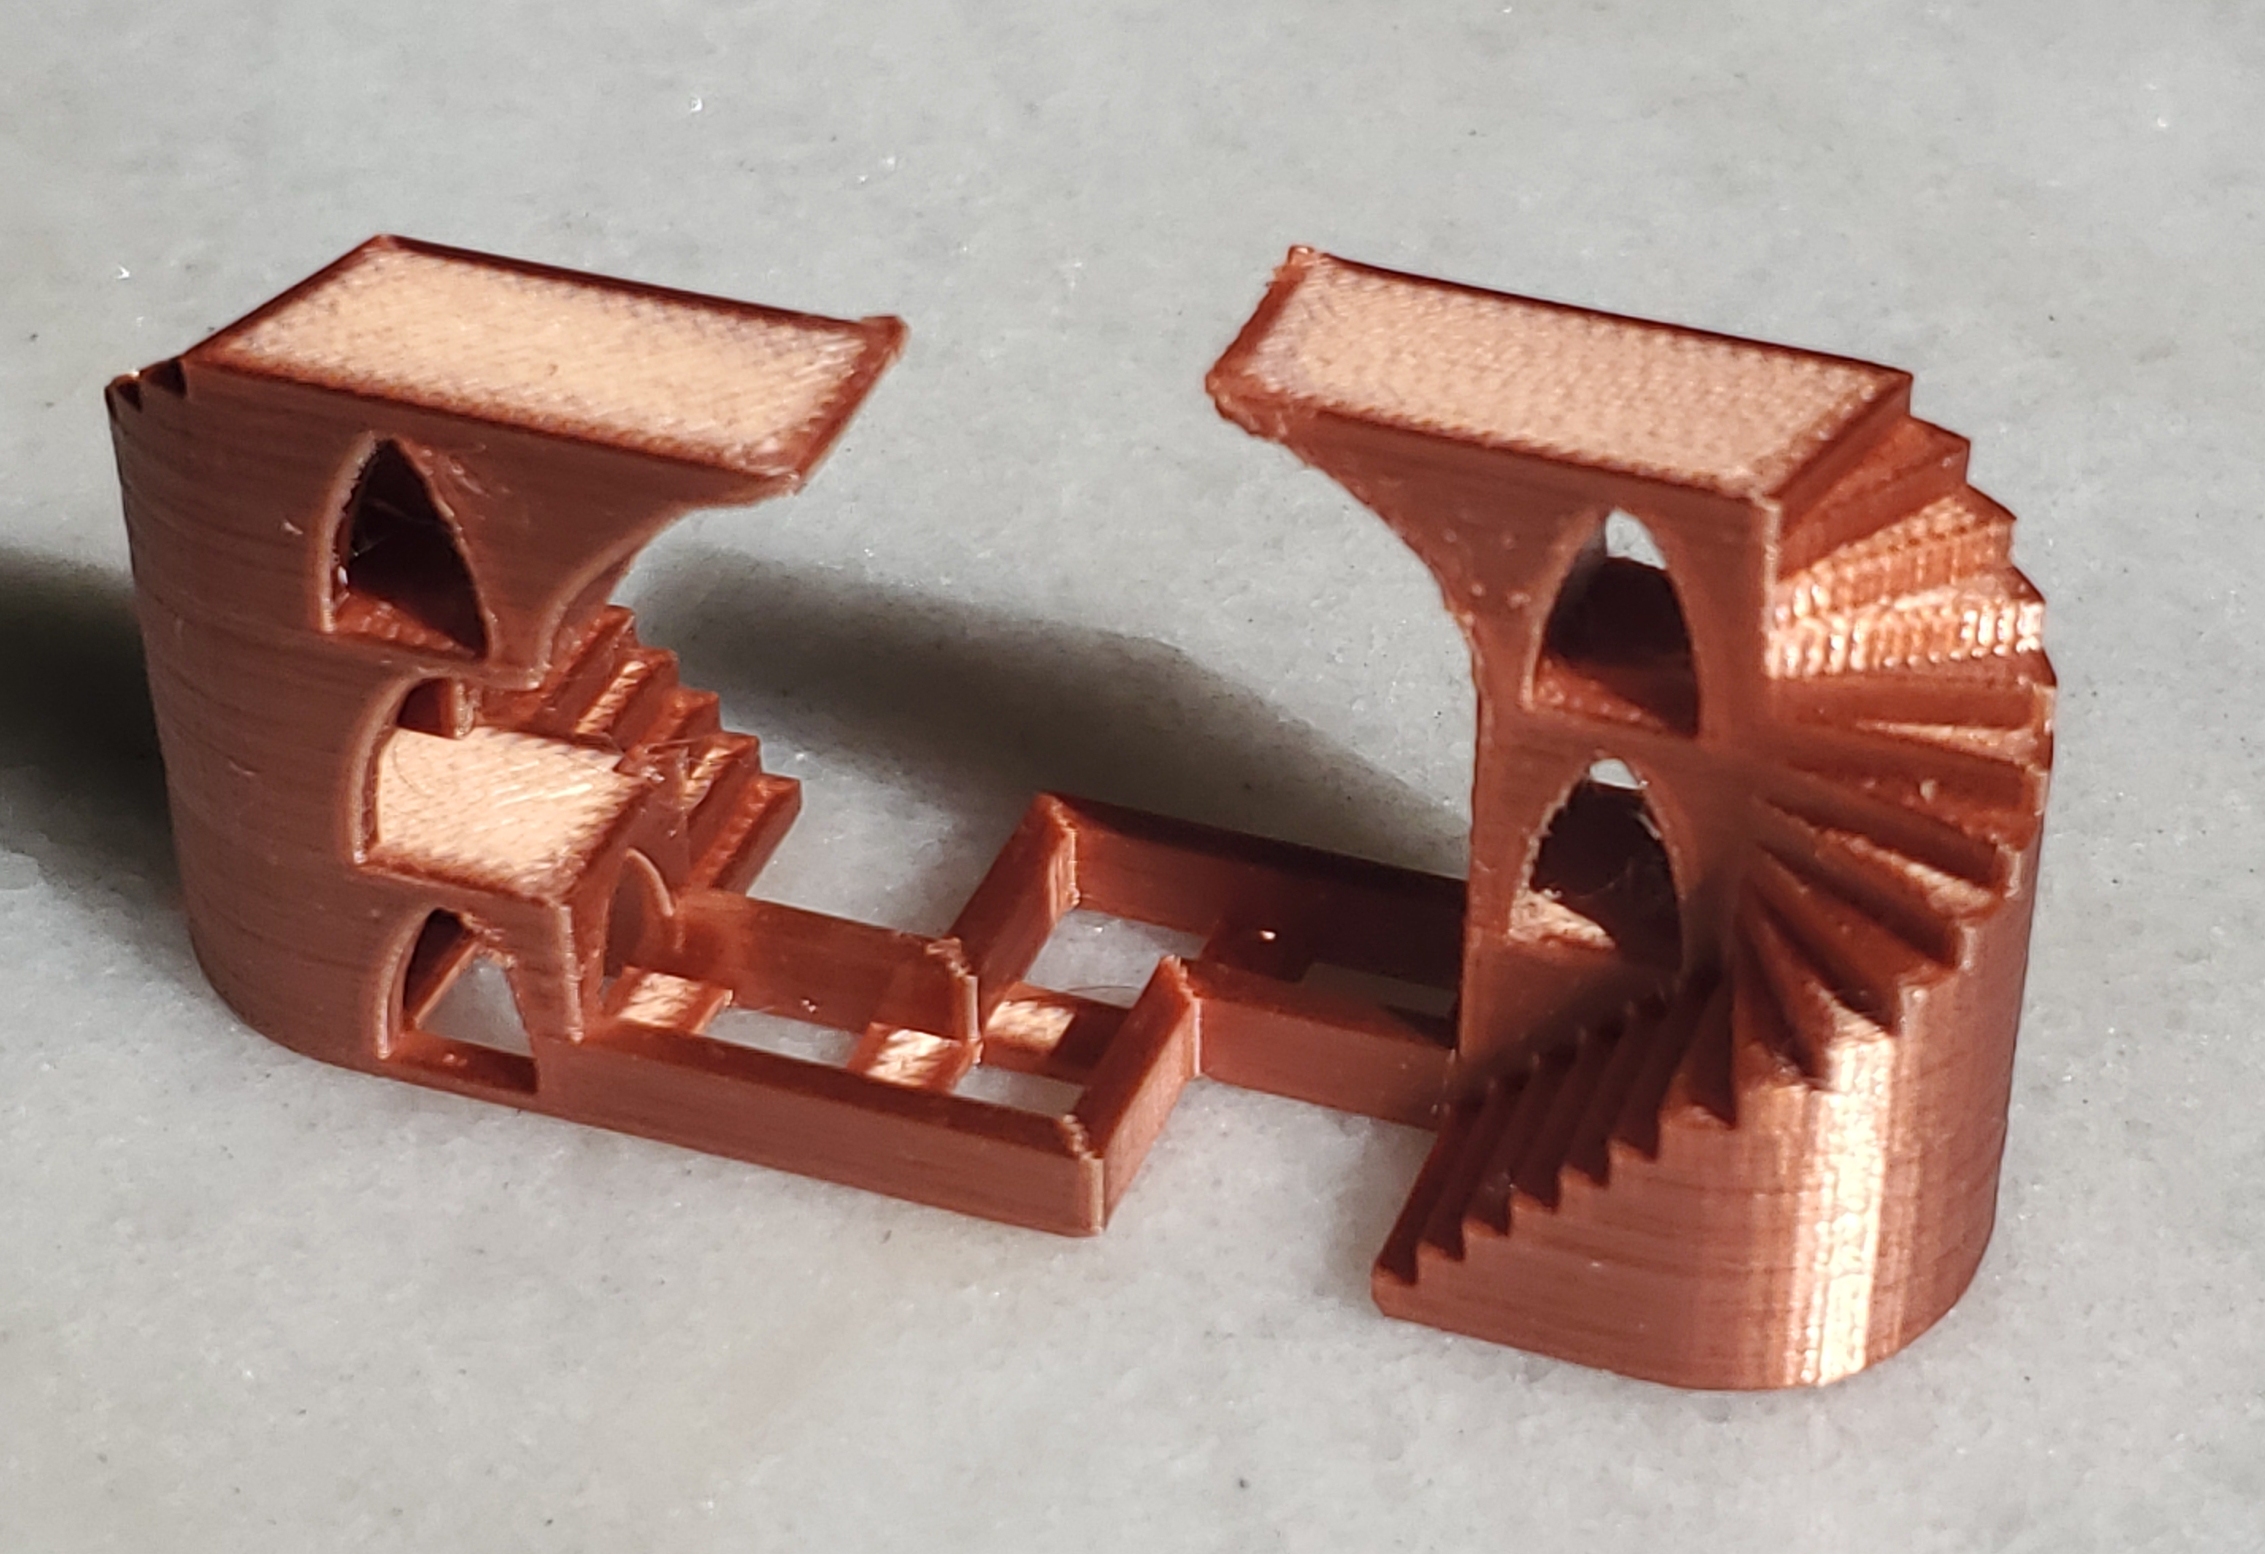
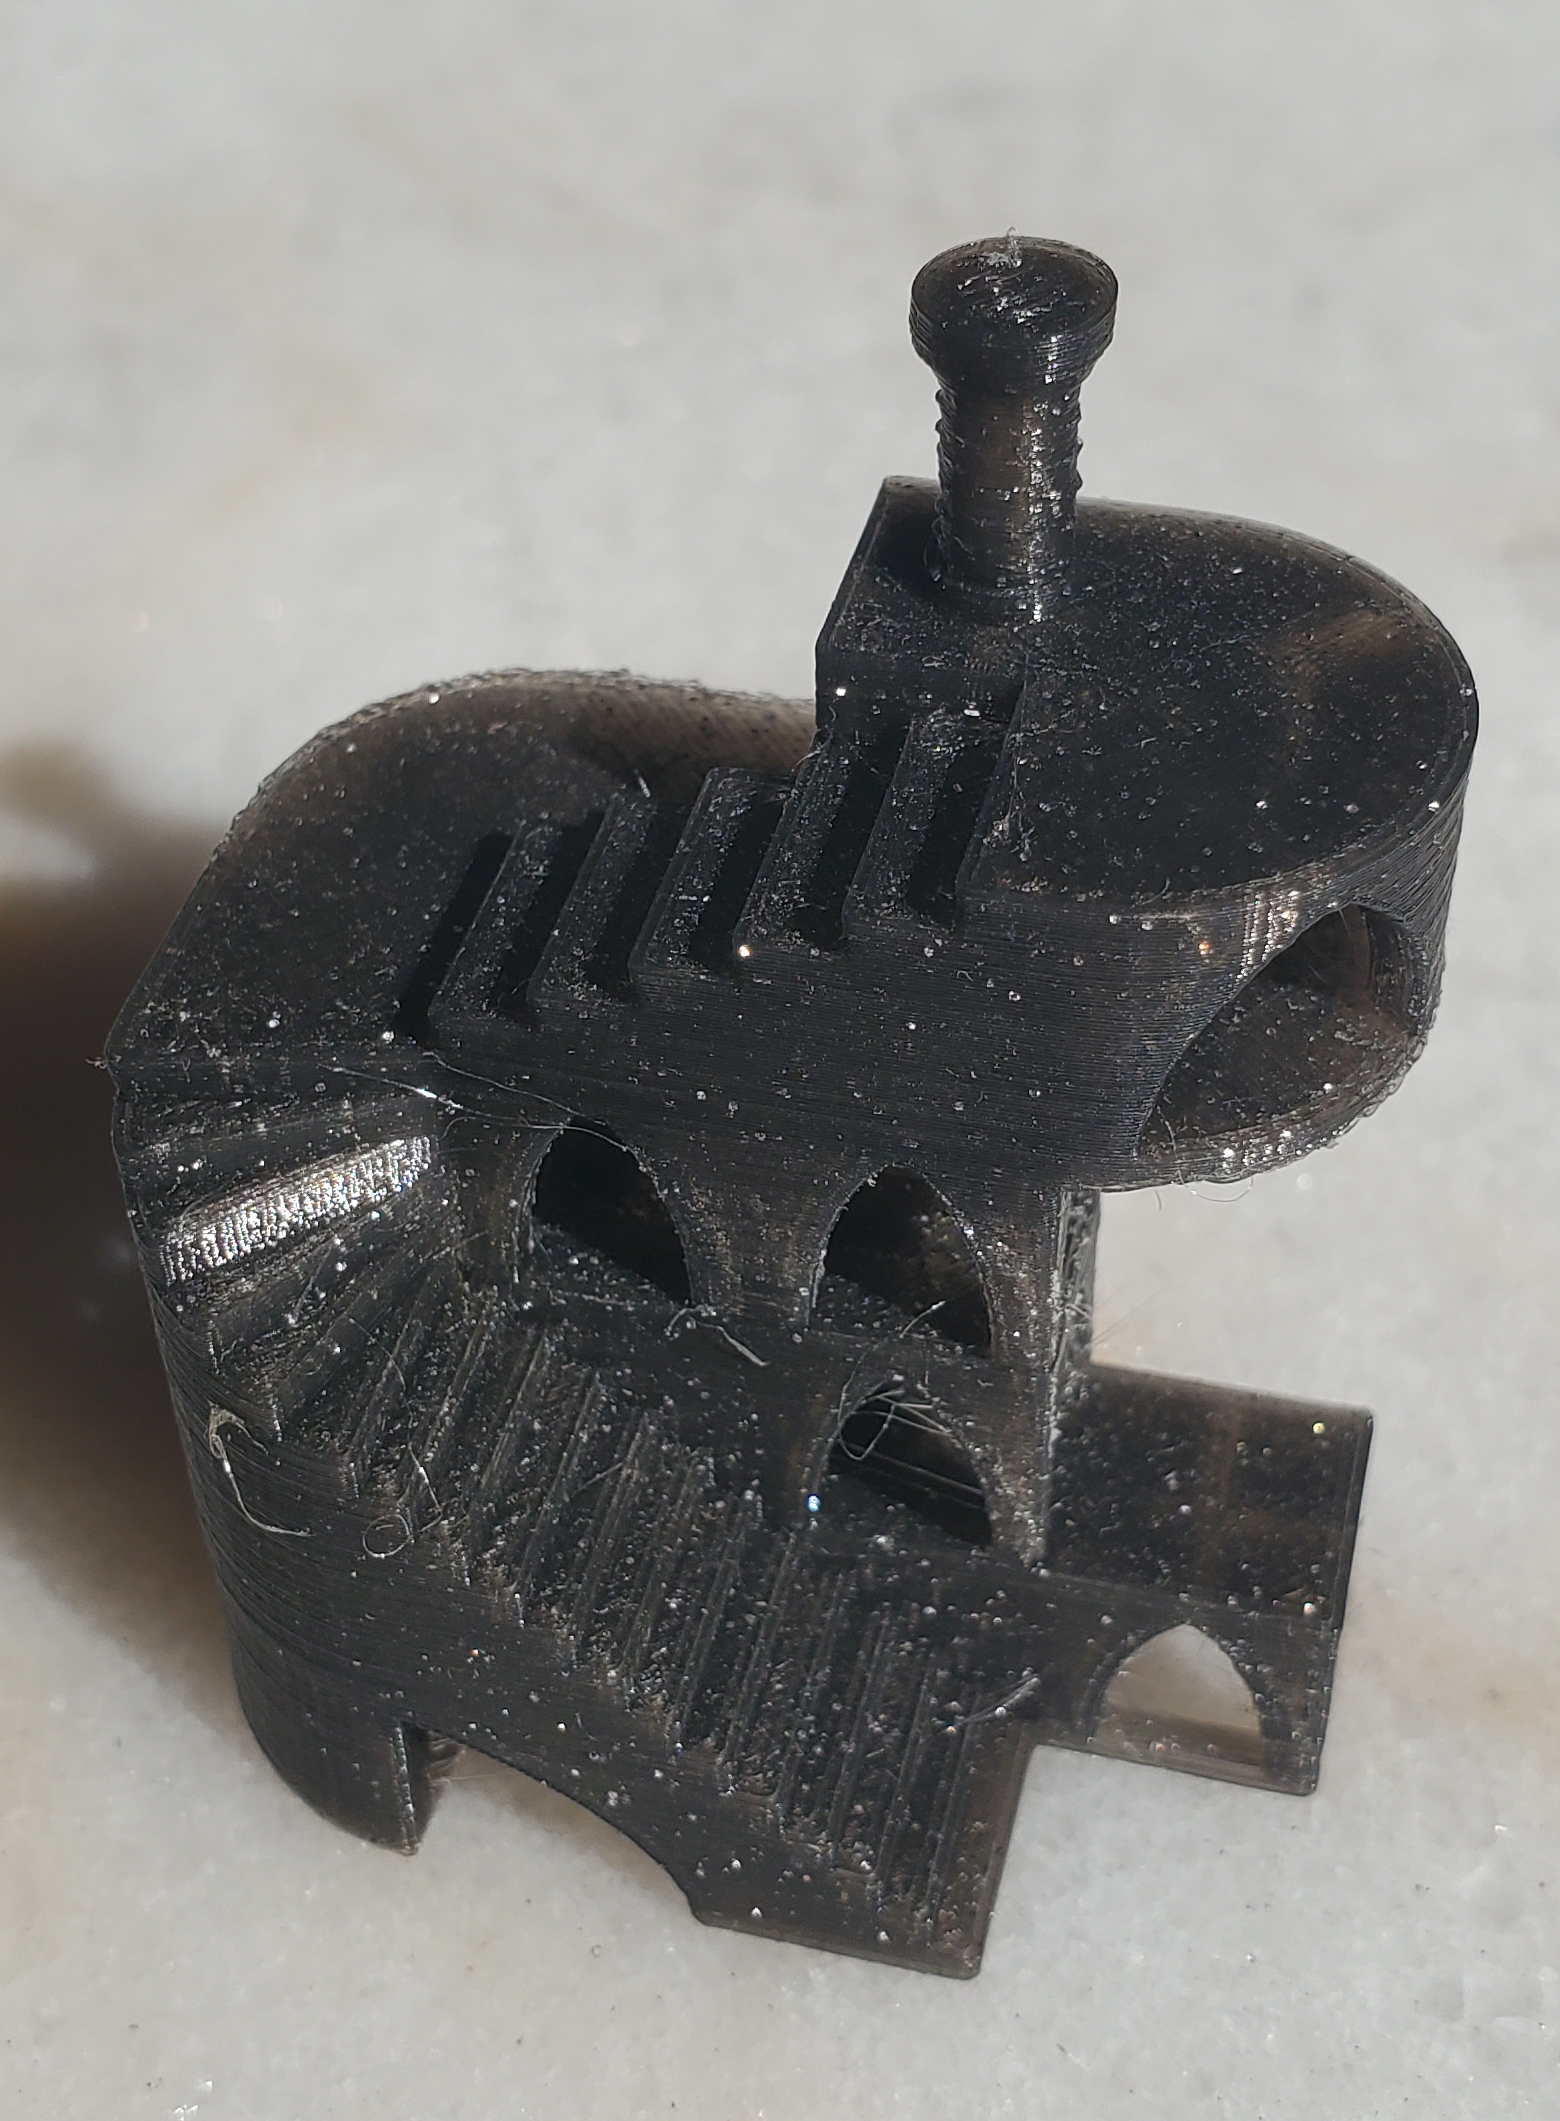
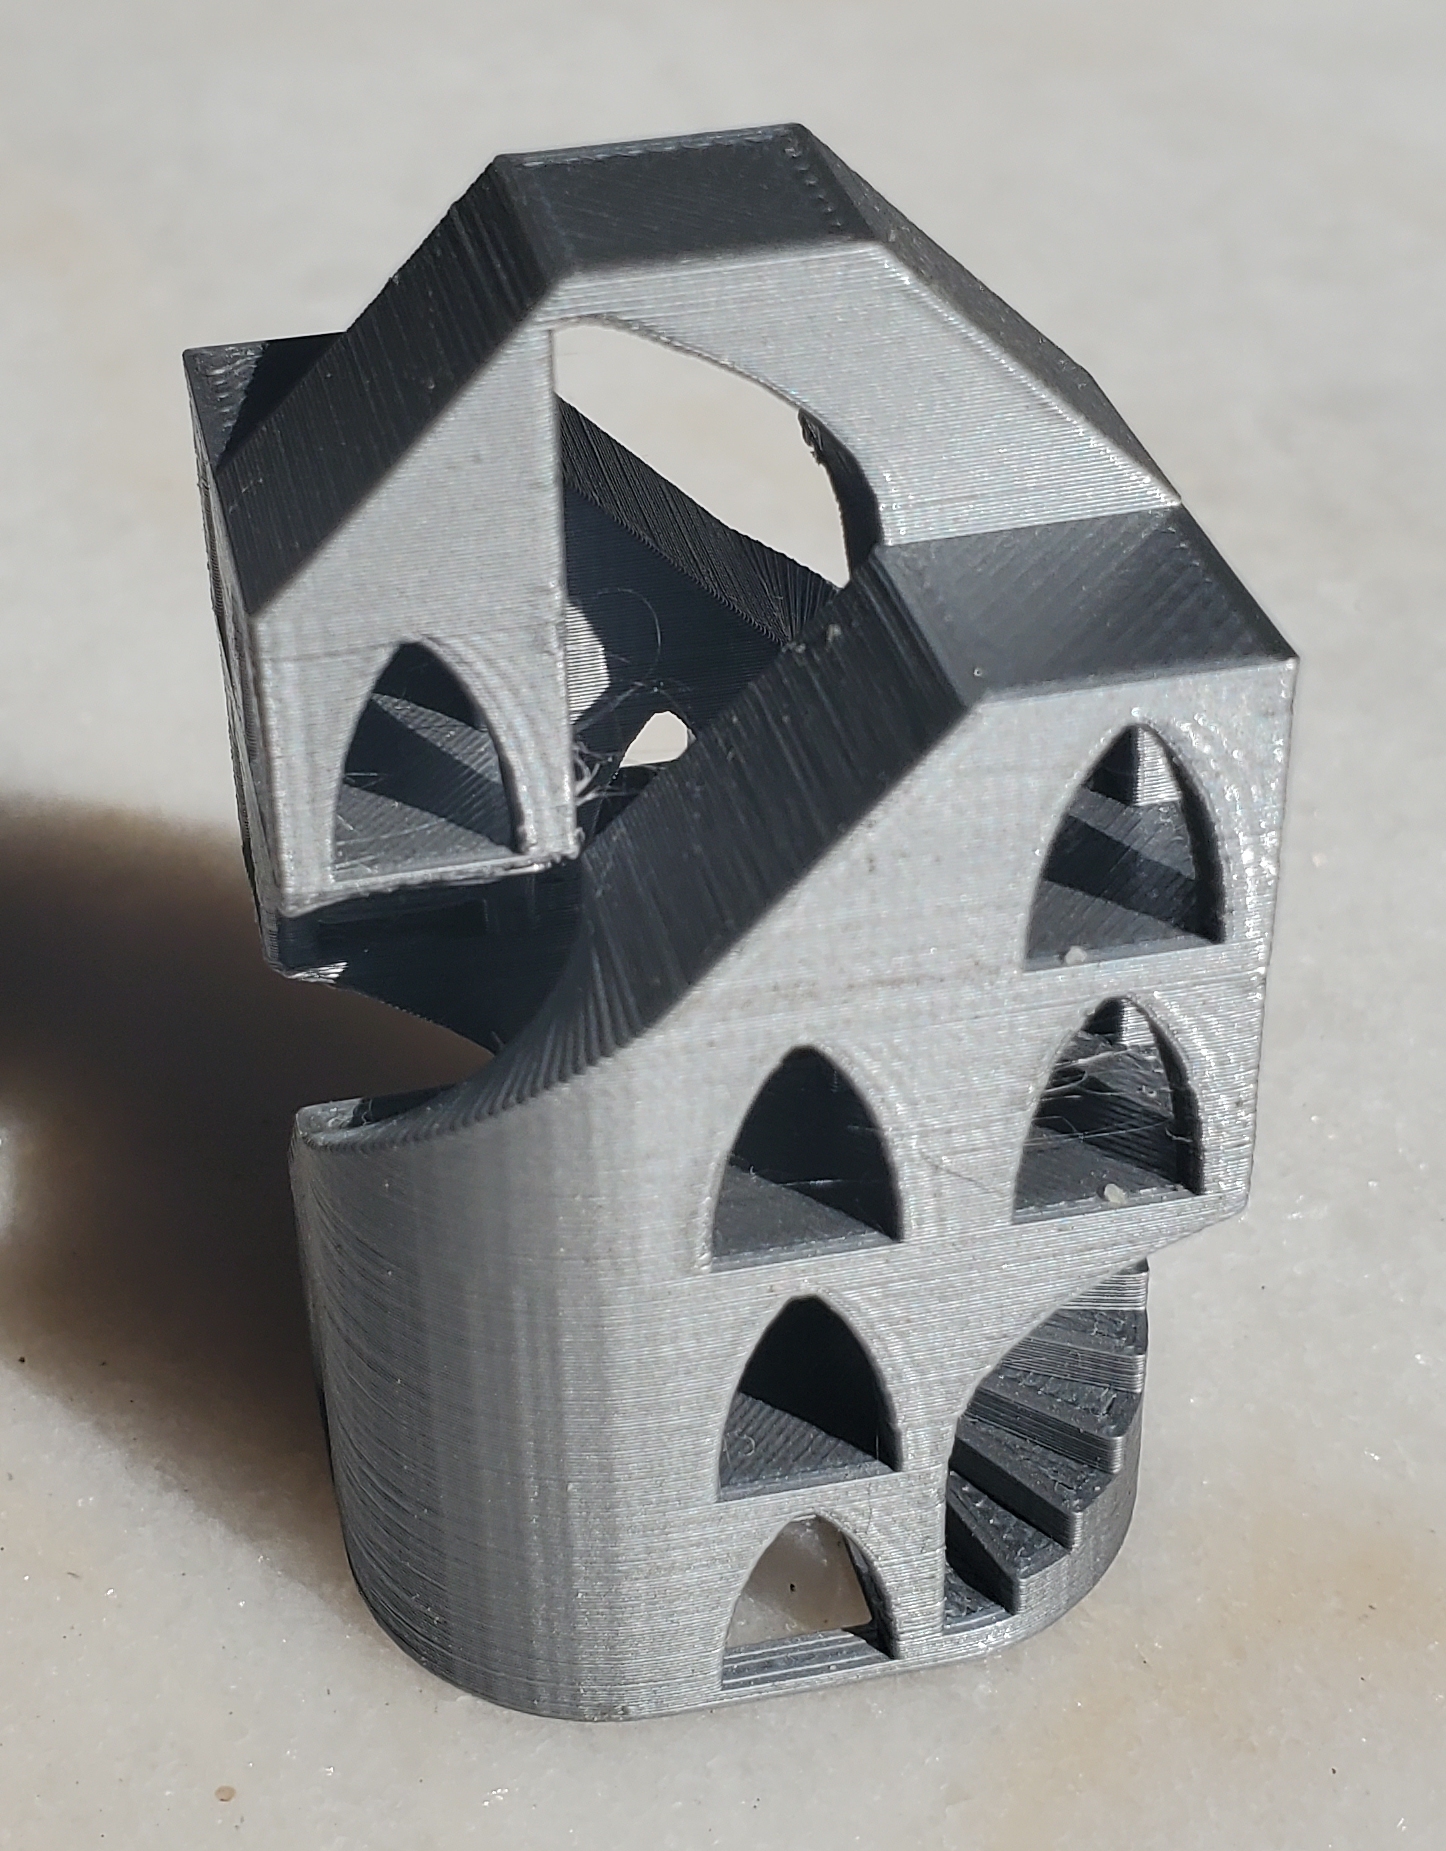
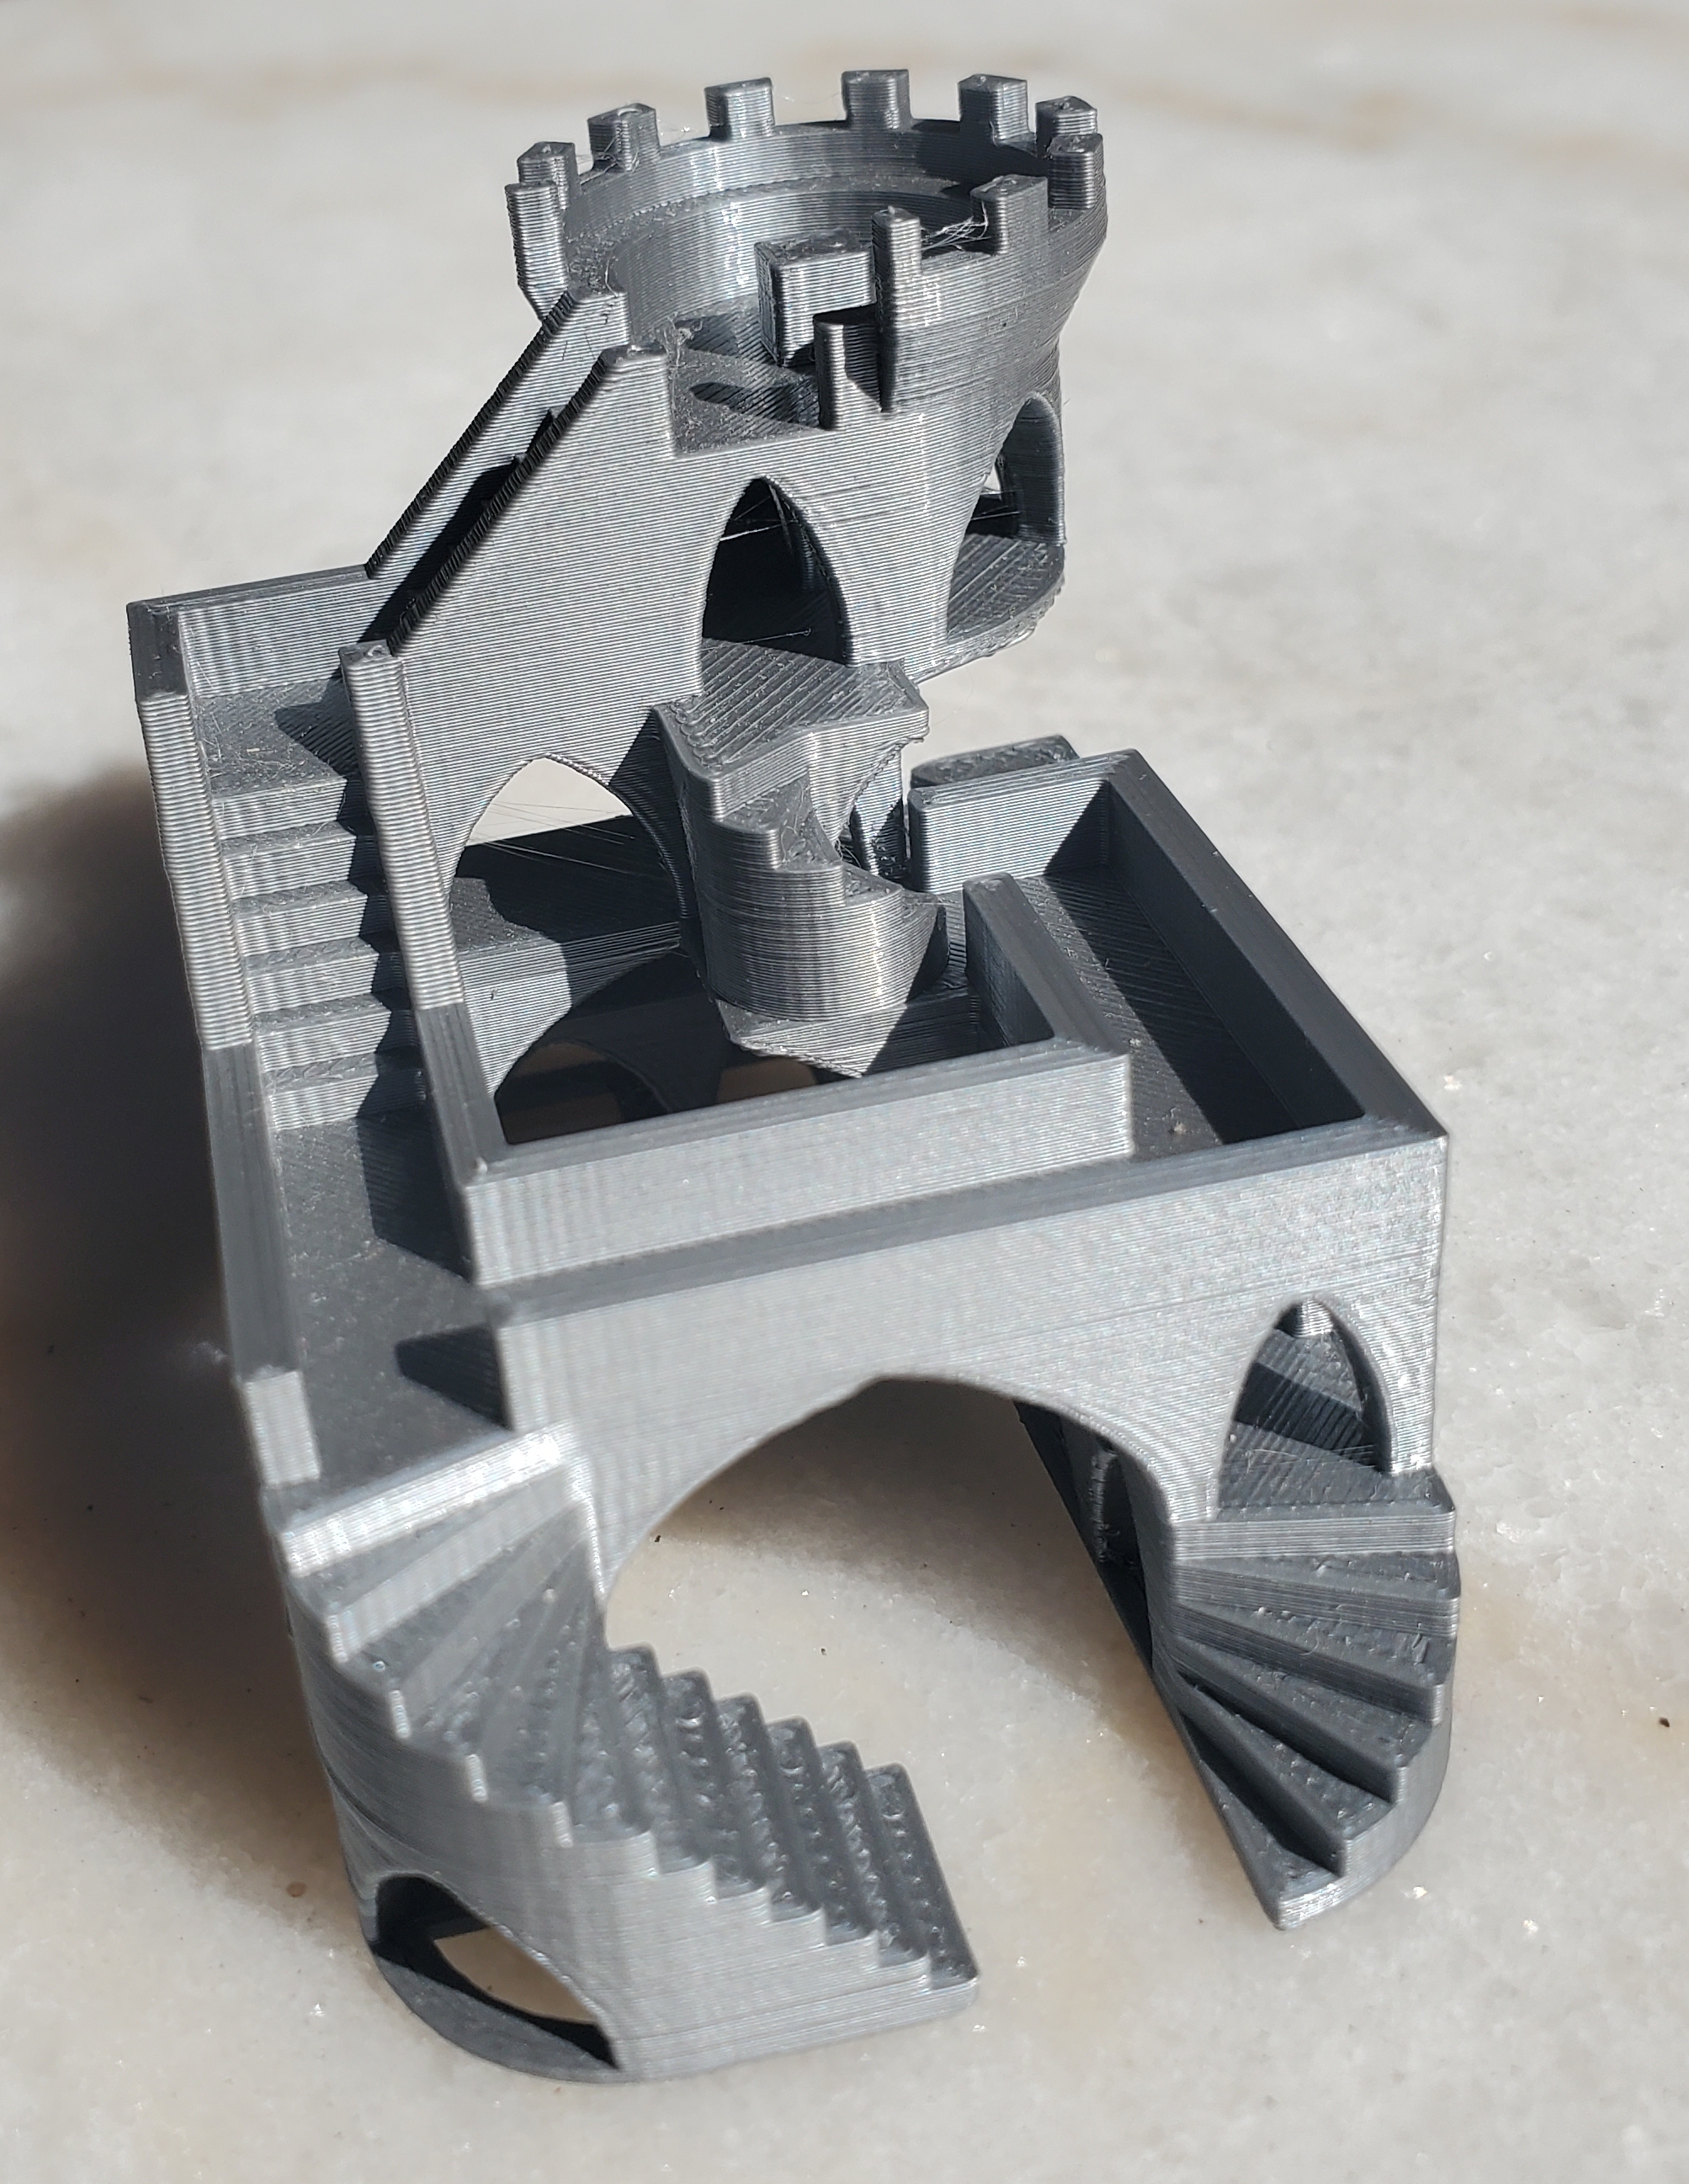
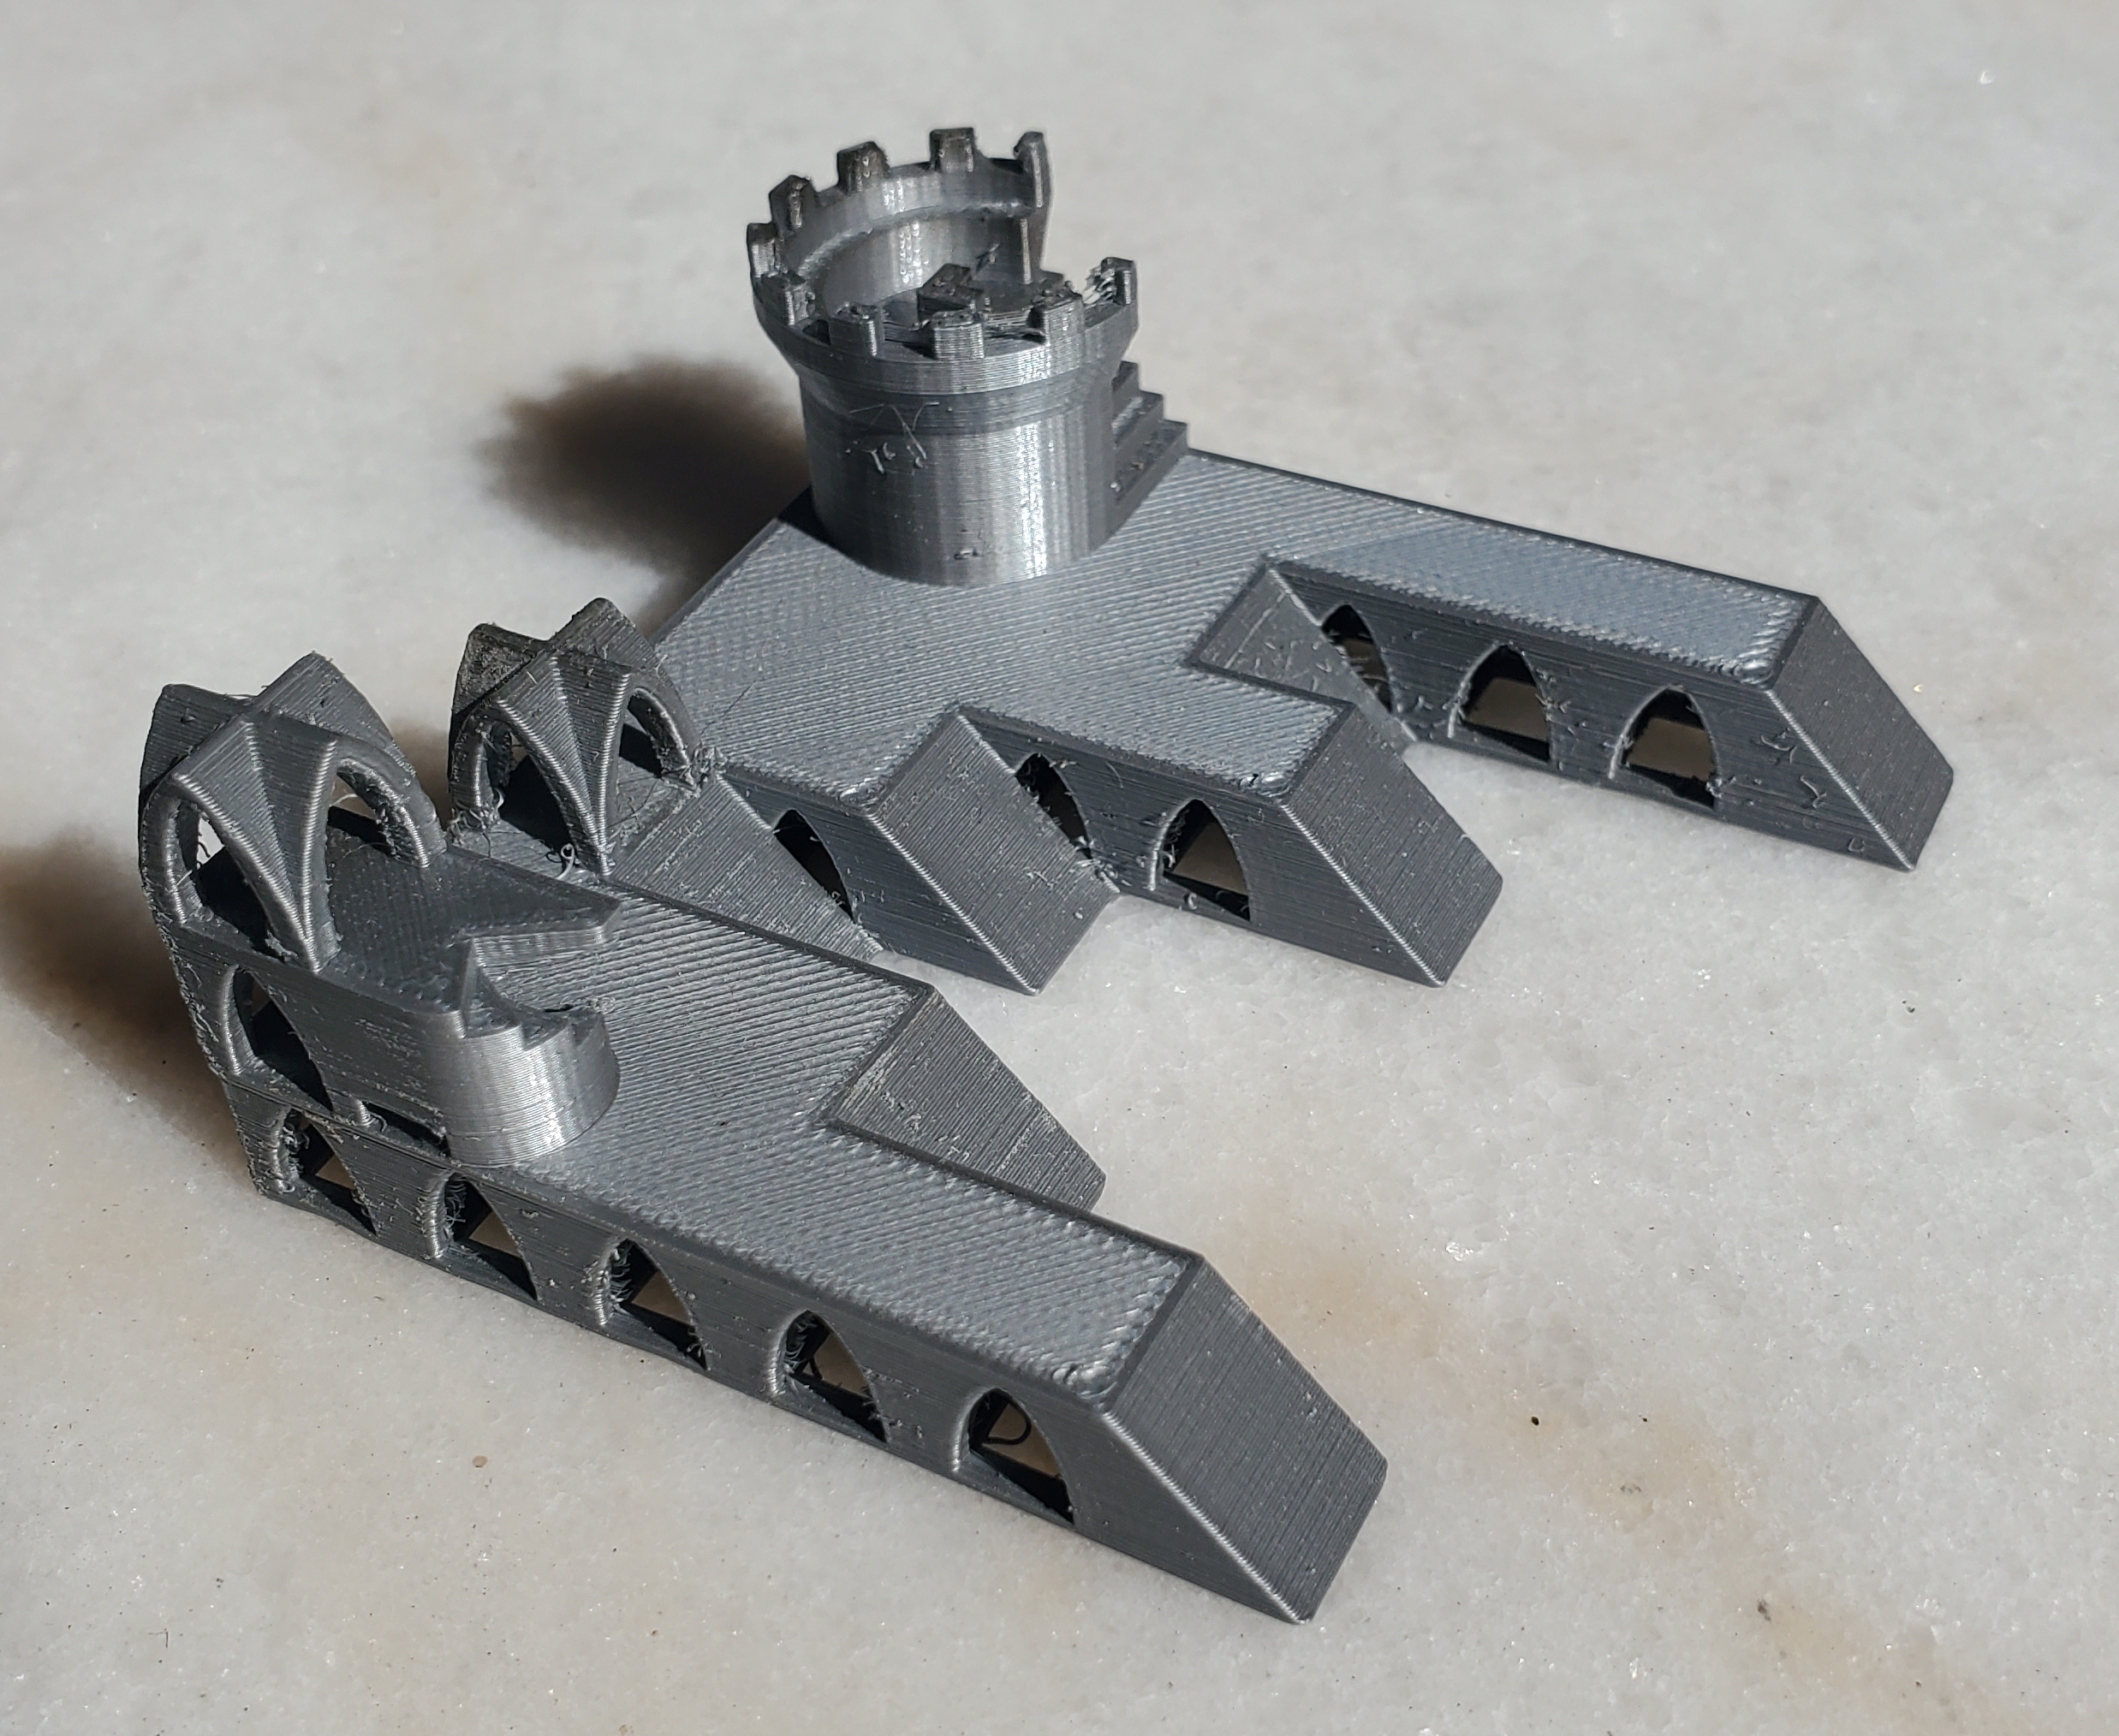
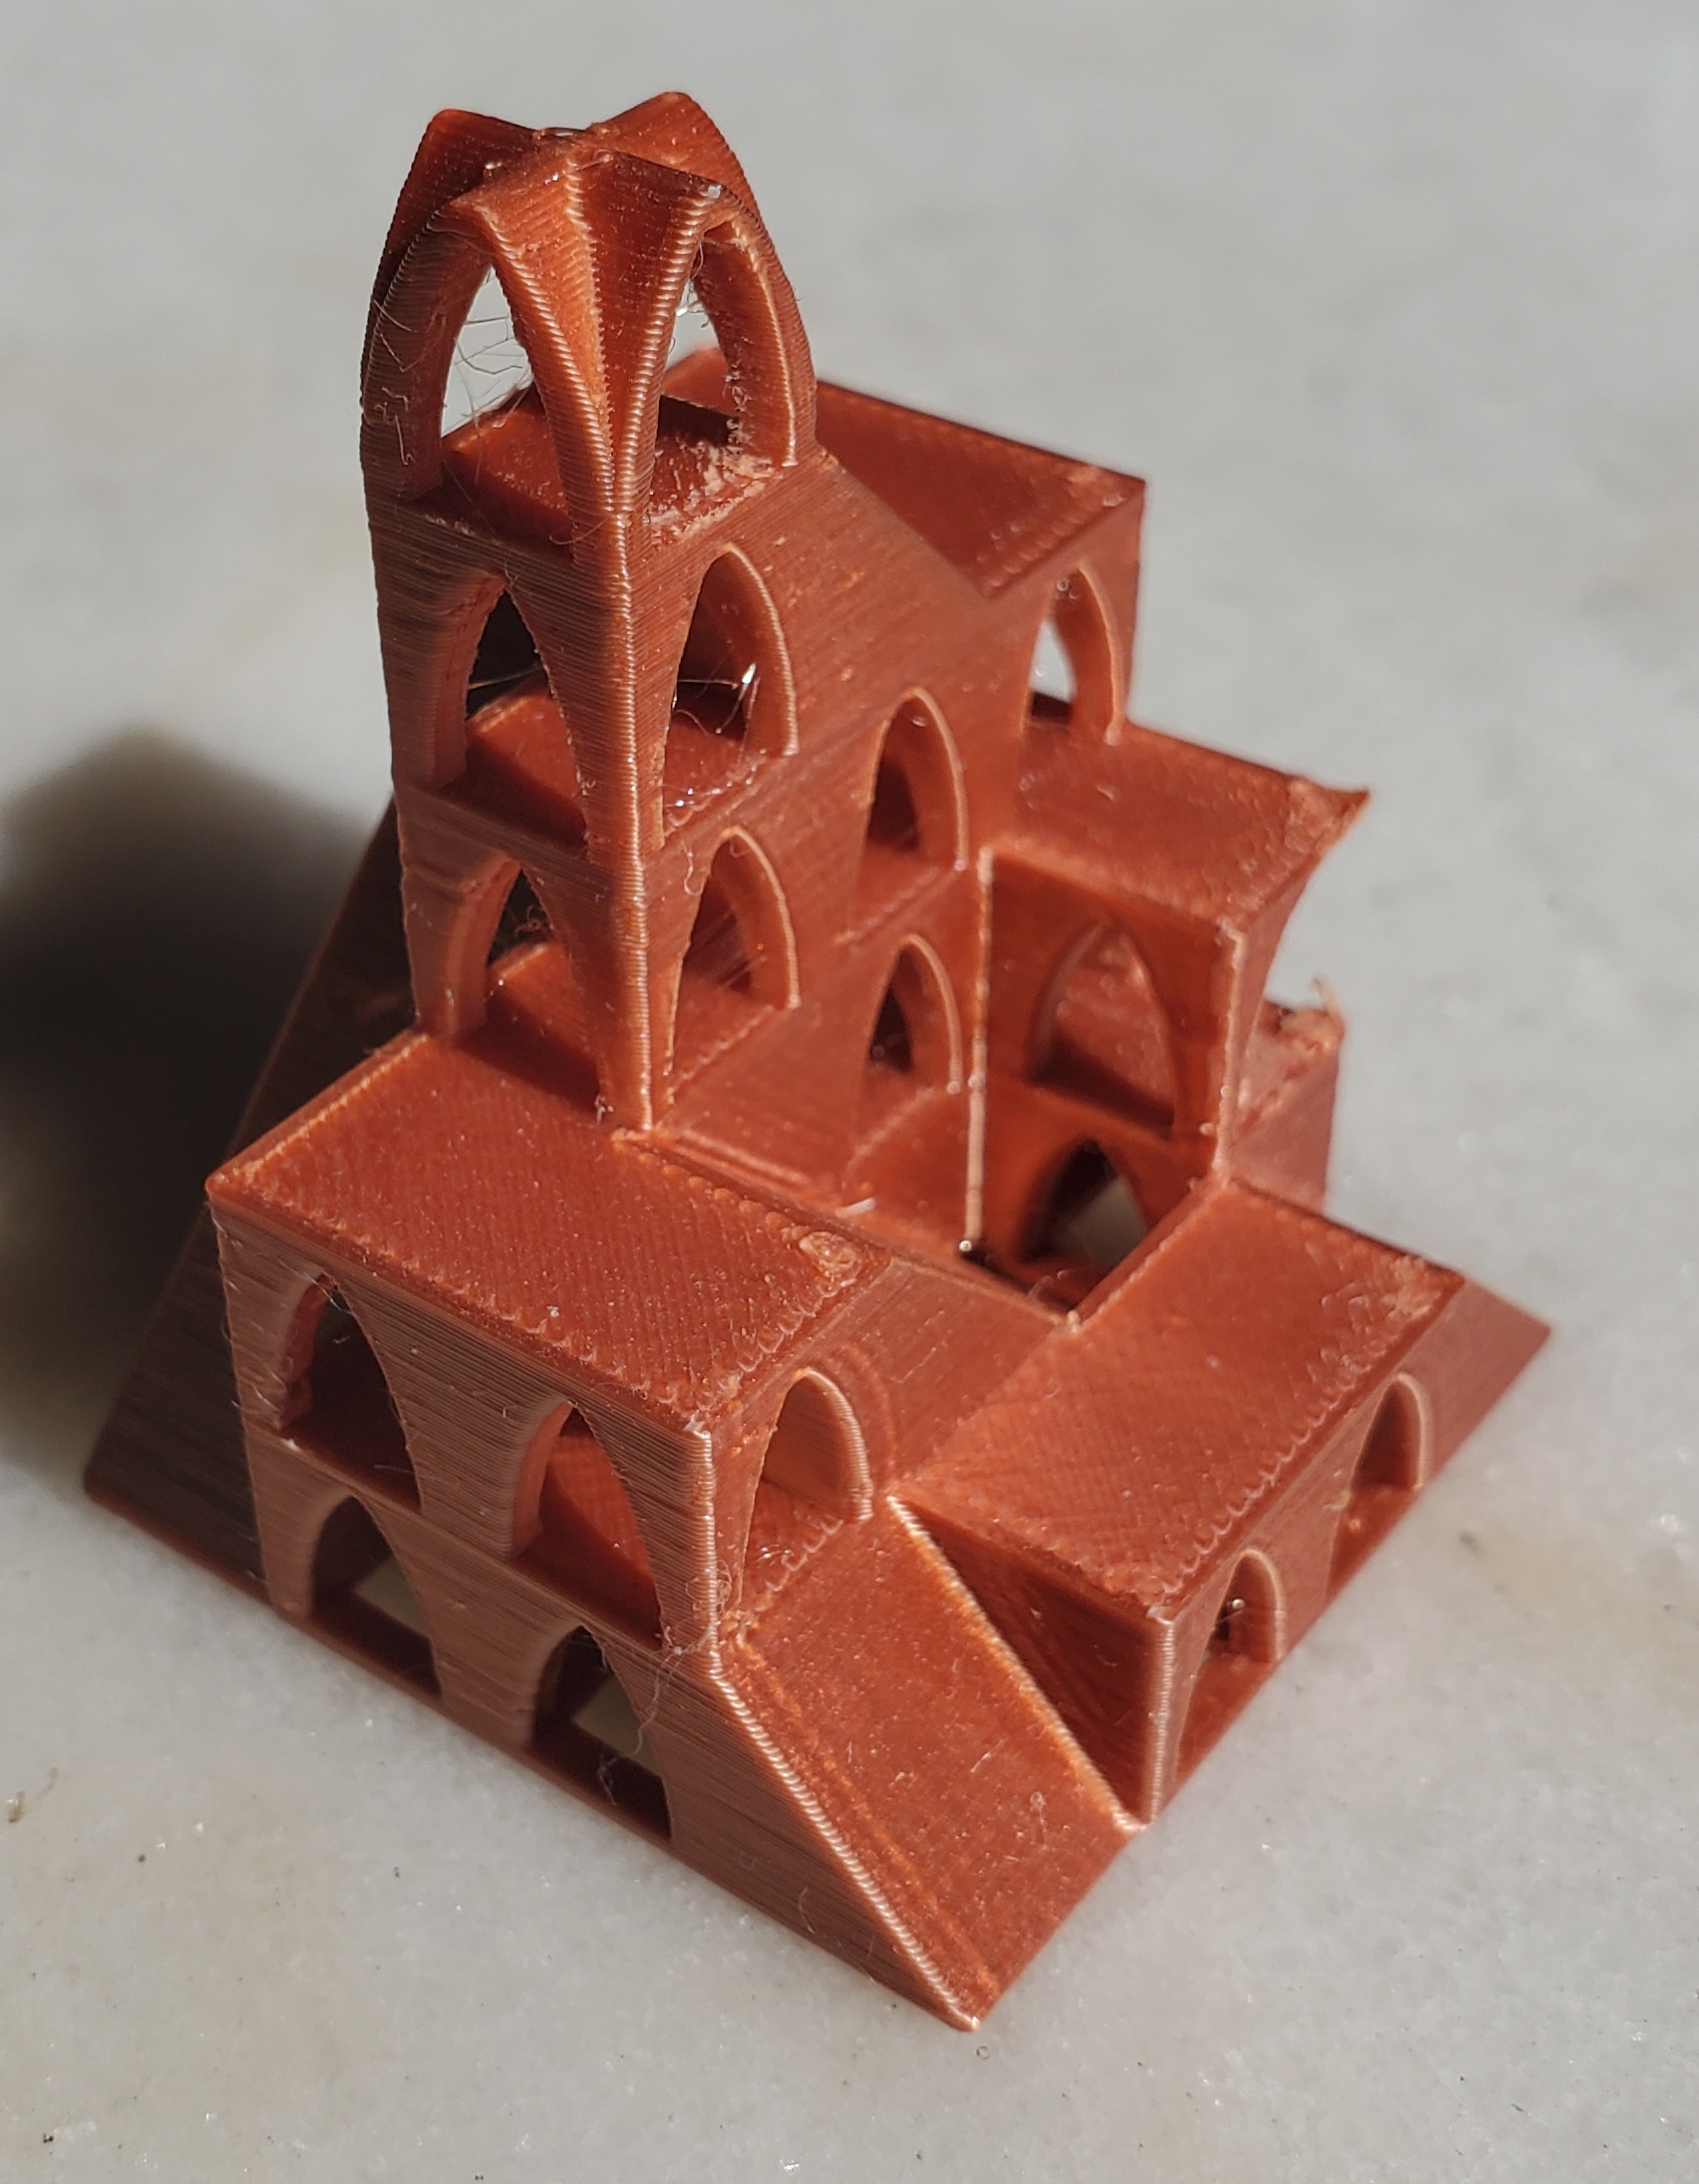
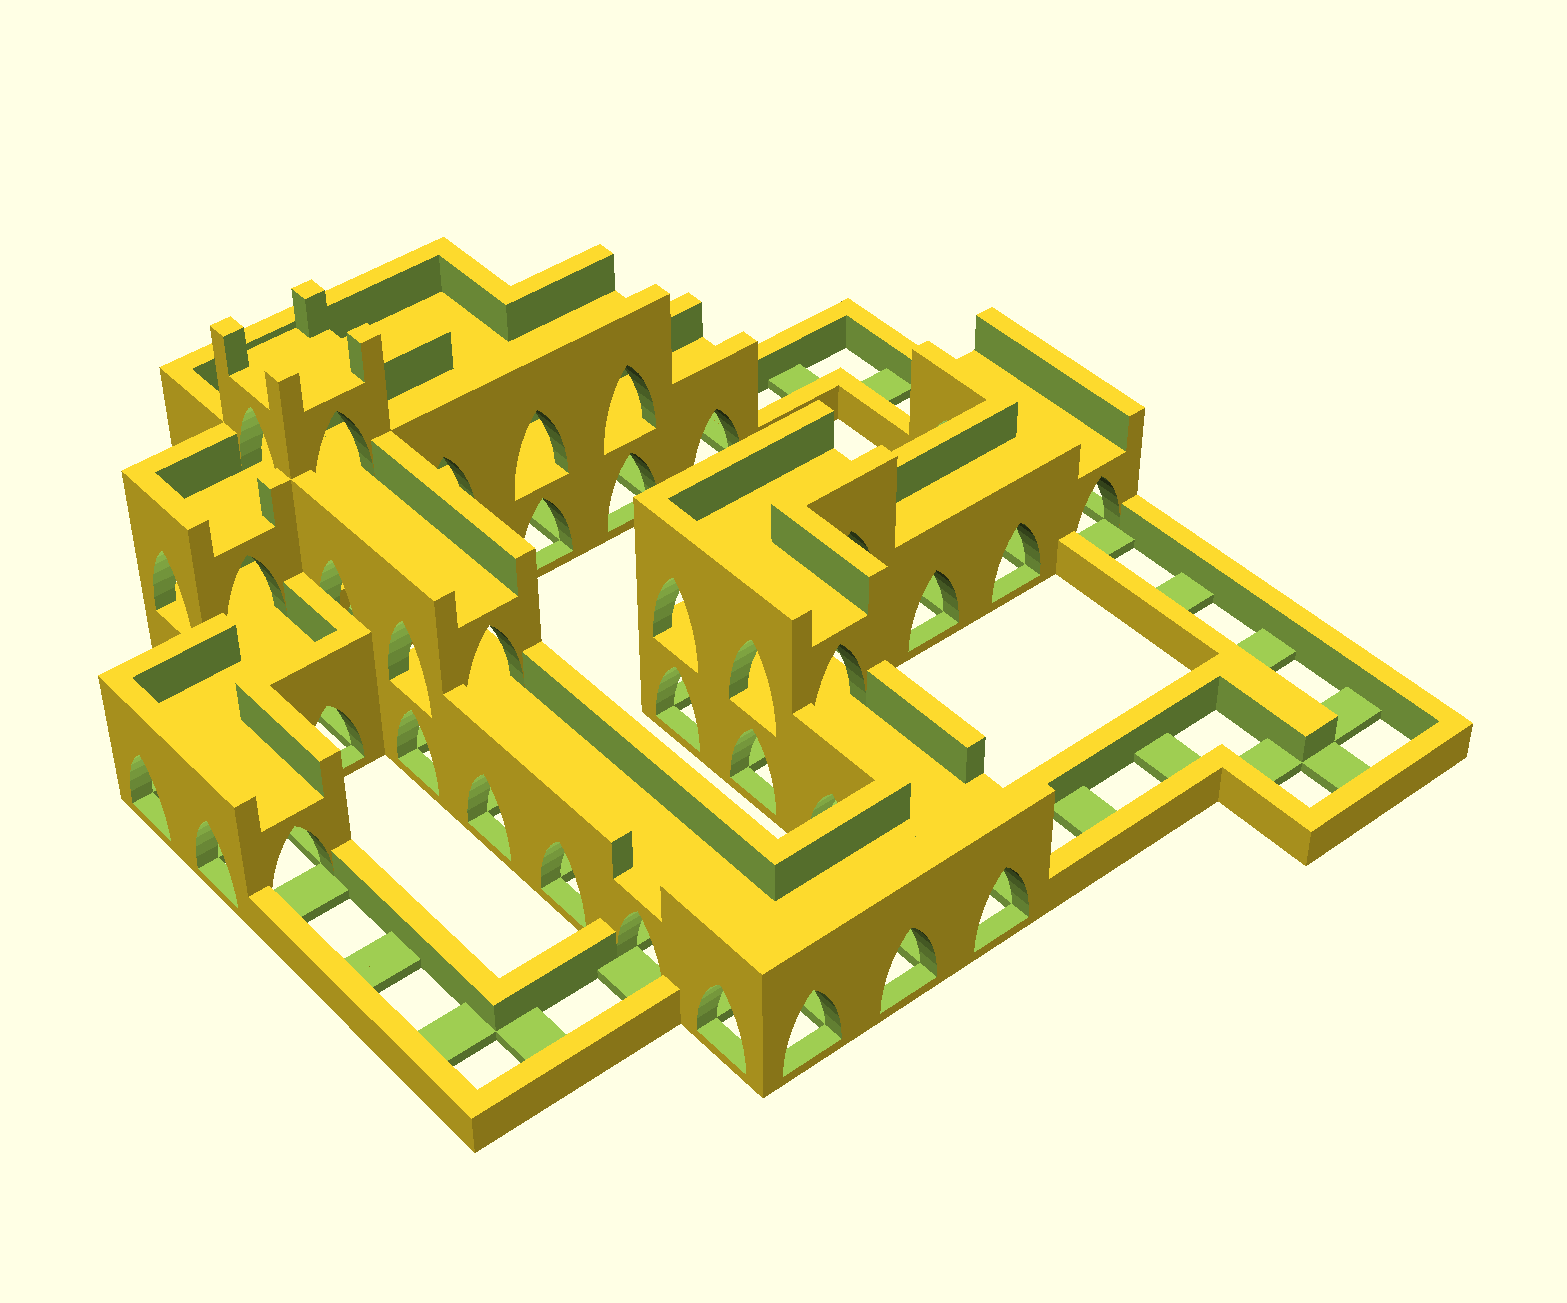
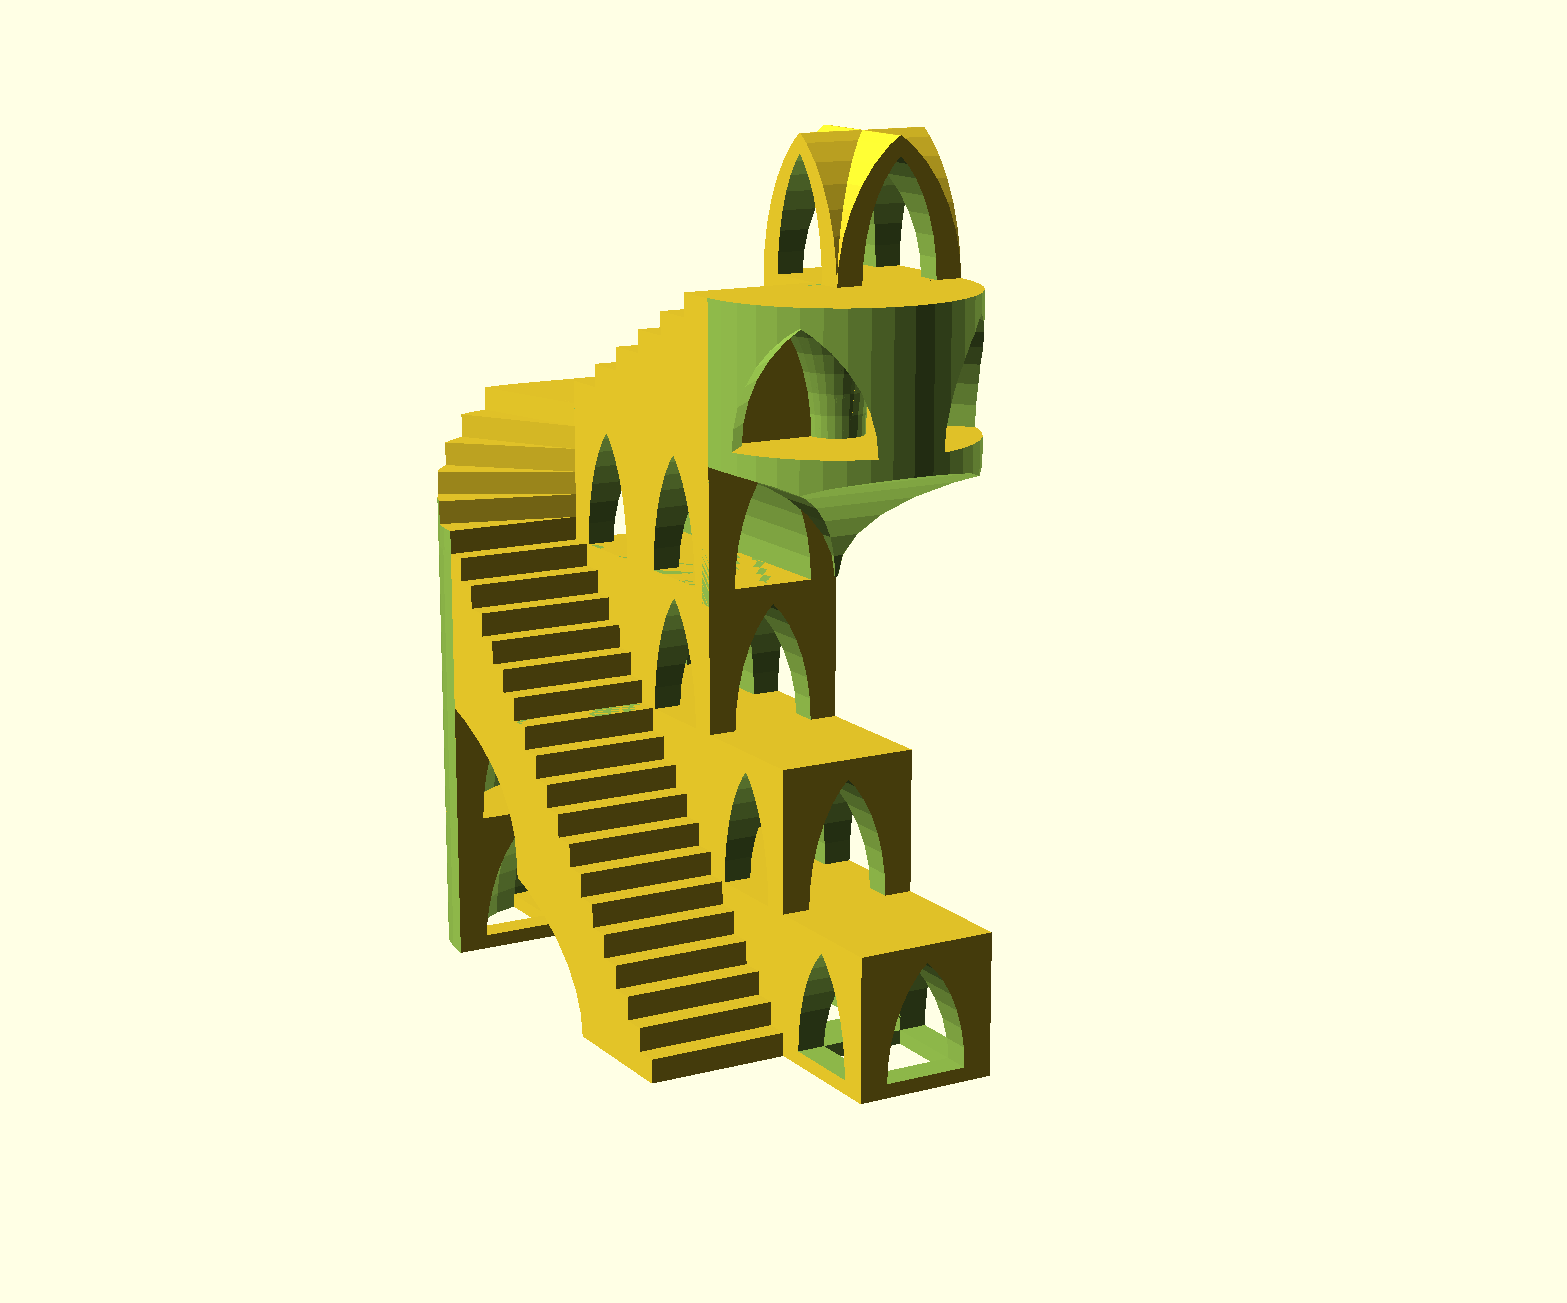
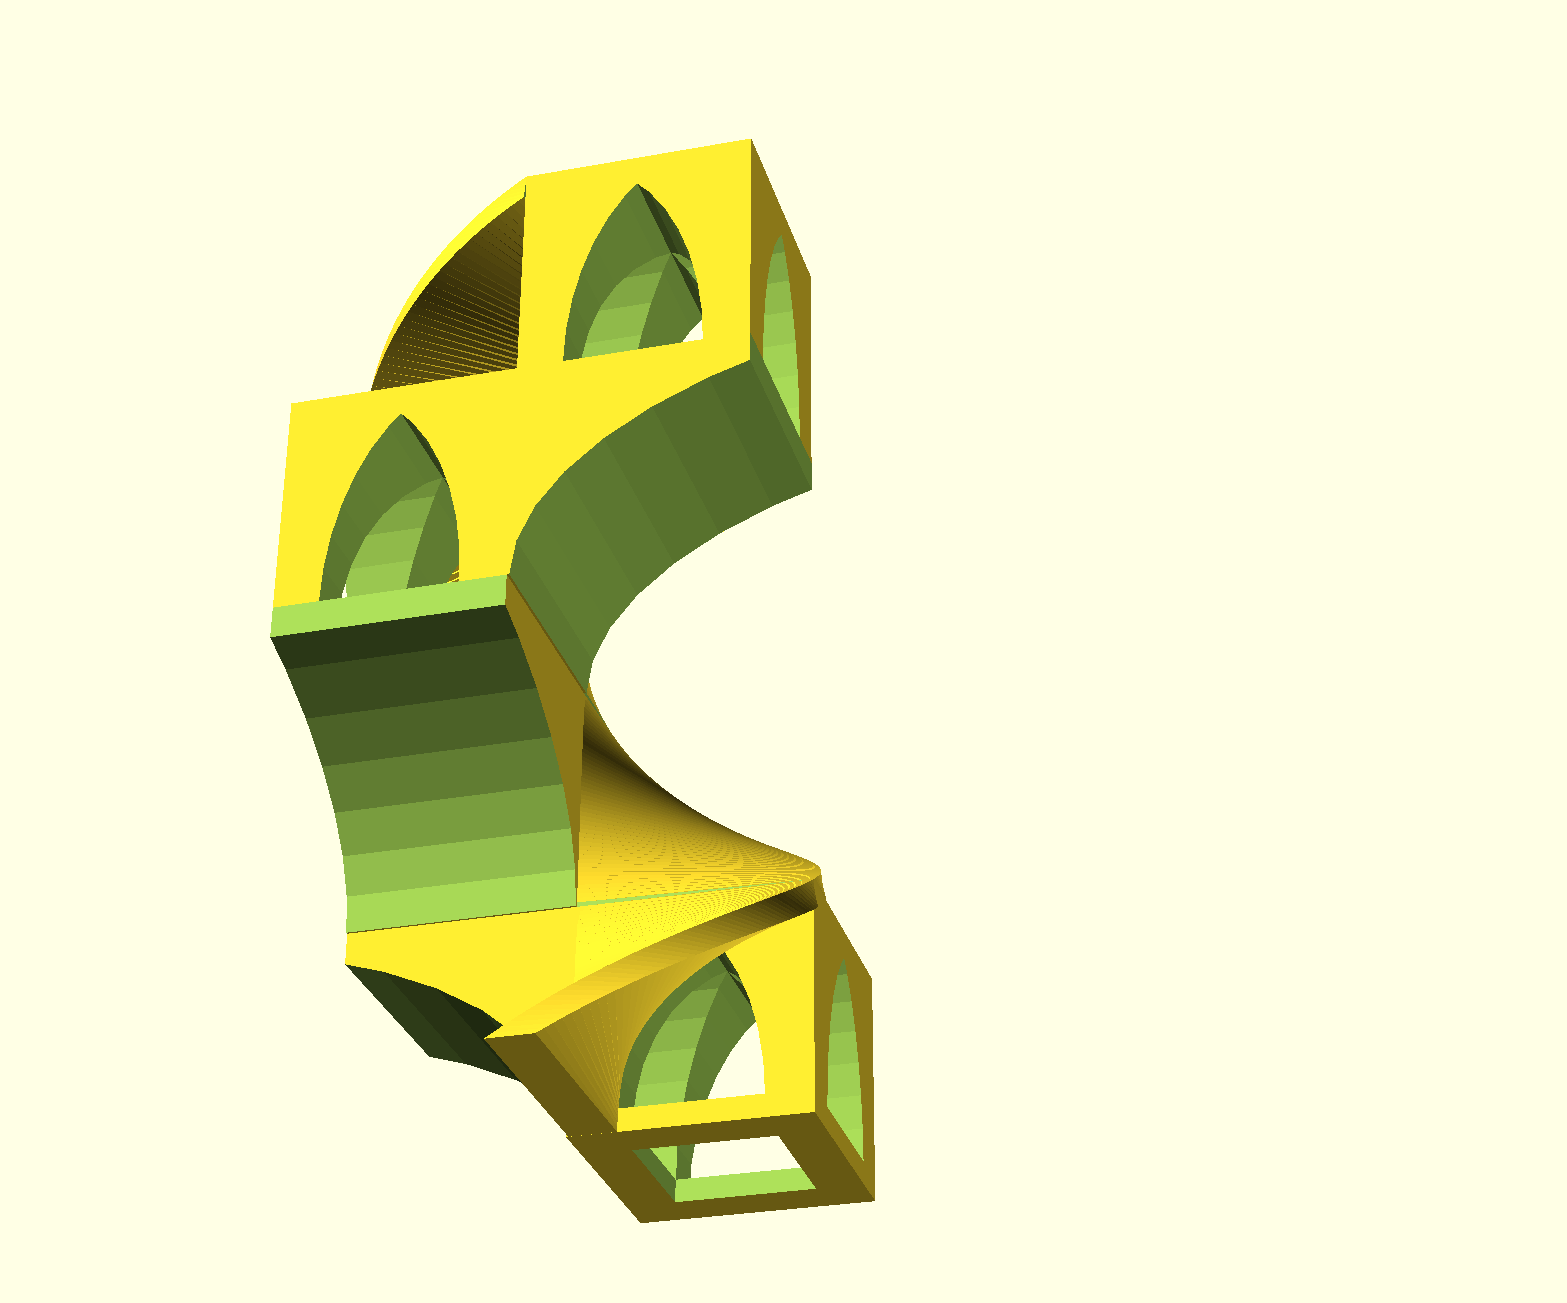
Parapet places no restrictions on how blocks can be placed. However, if a model is intended for 3D printing and you don't wish to print supports (I find removing supports annoying and prefer my models to be self supporting), you need to take care not to place a block which has a flat underside in a position where it will not be supported.
Parapet has a number of blocks that are designed to bridge gaps for just this purpose; they have no base and so must be placed next to supported blocks. Look in the Overhang shape group and there are also bridge shapes in the Cross and Pipe Groups.
- Changing Print Scale
-
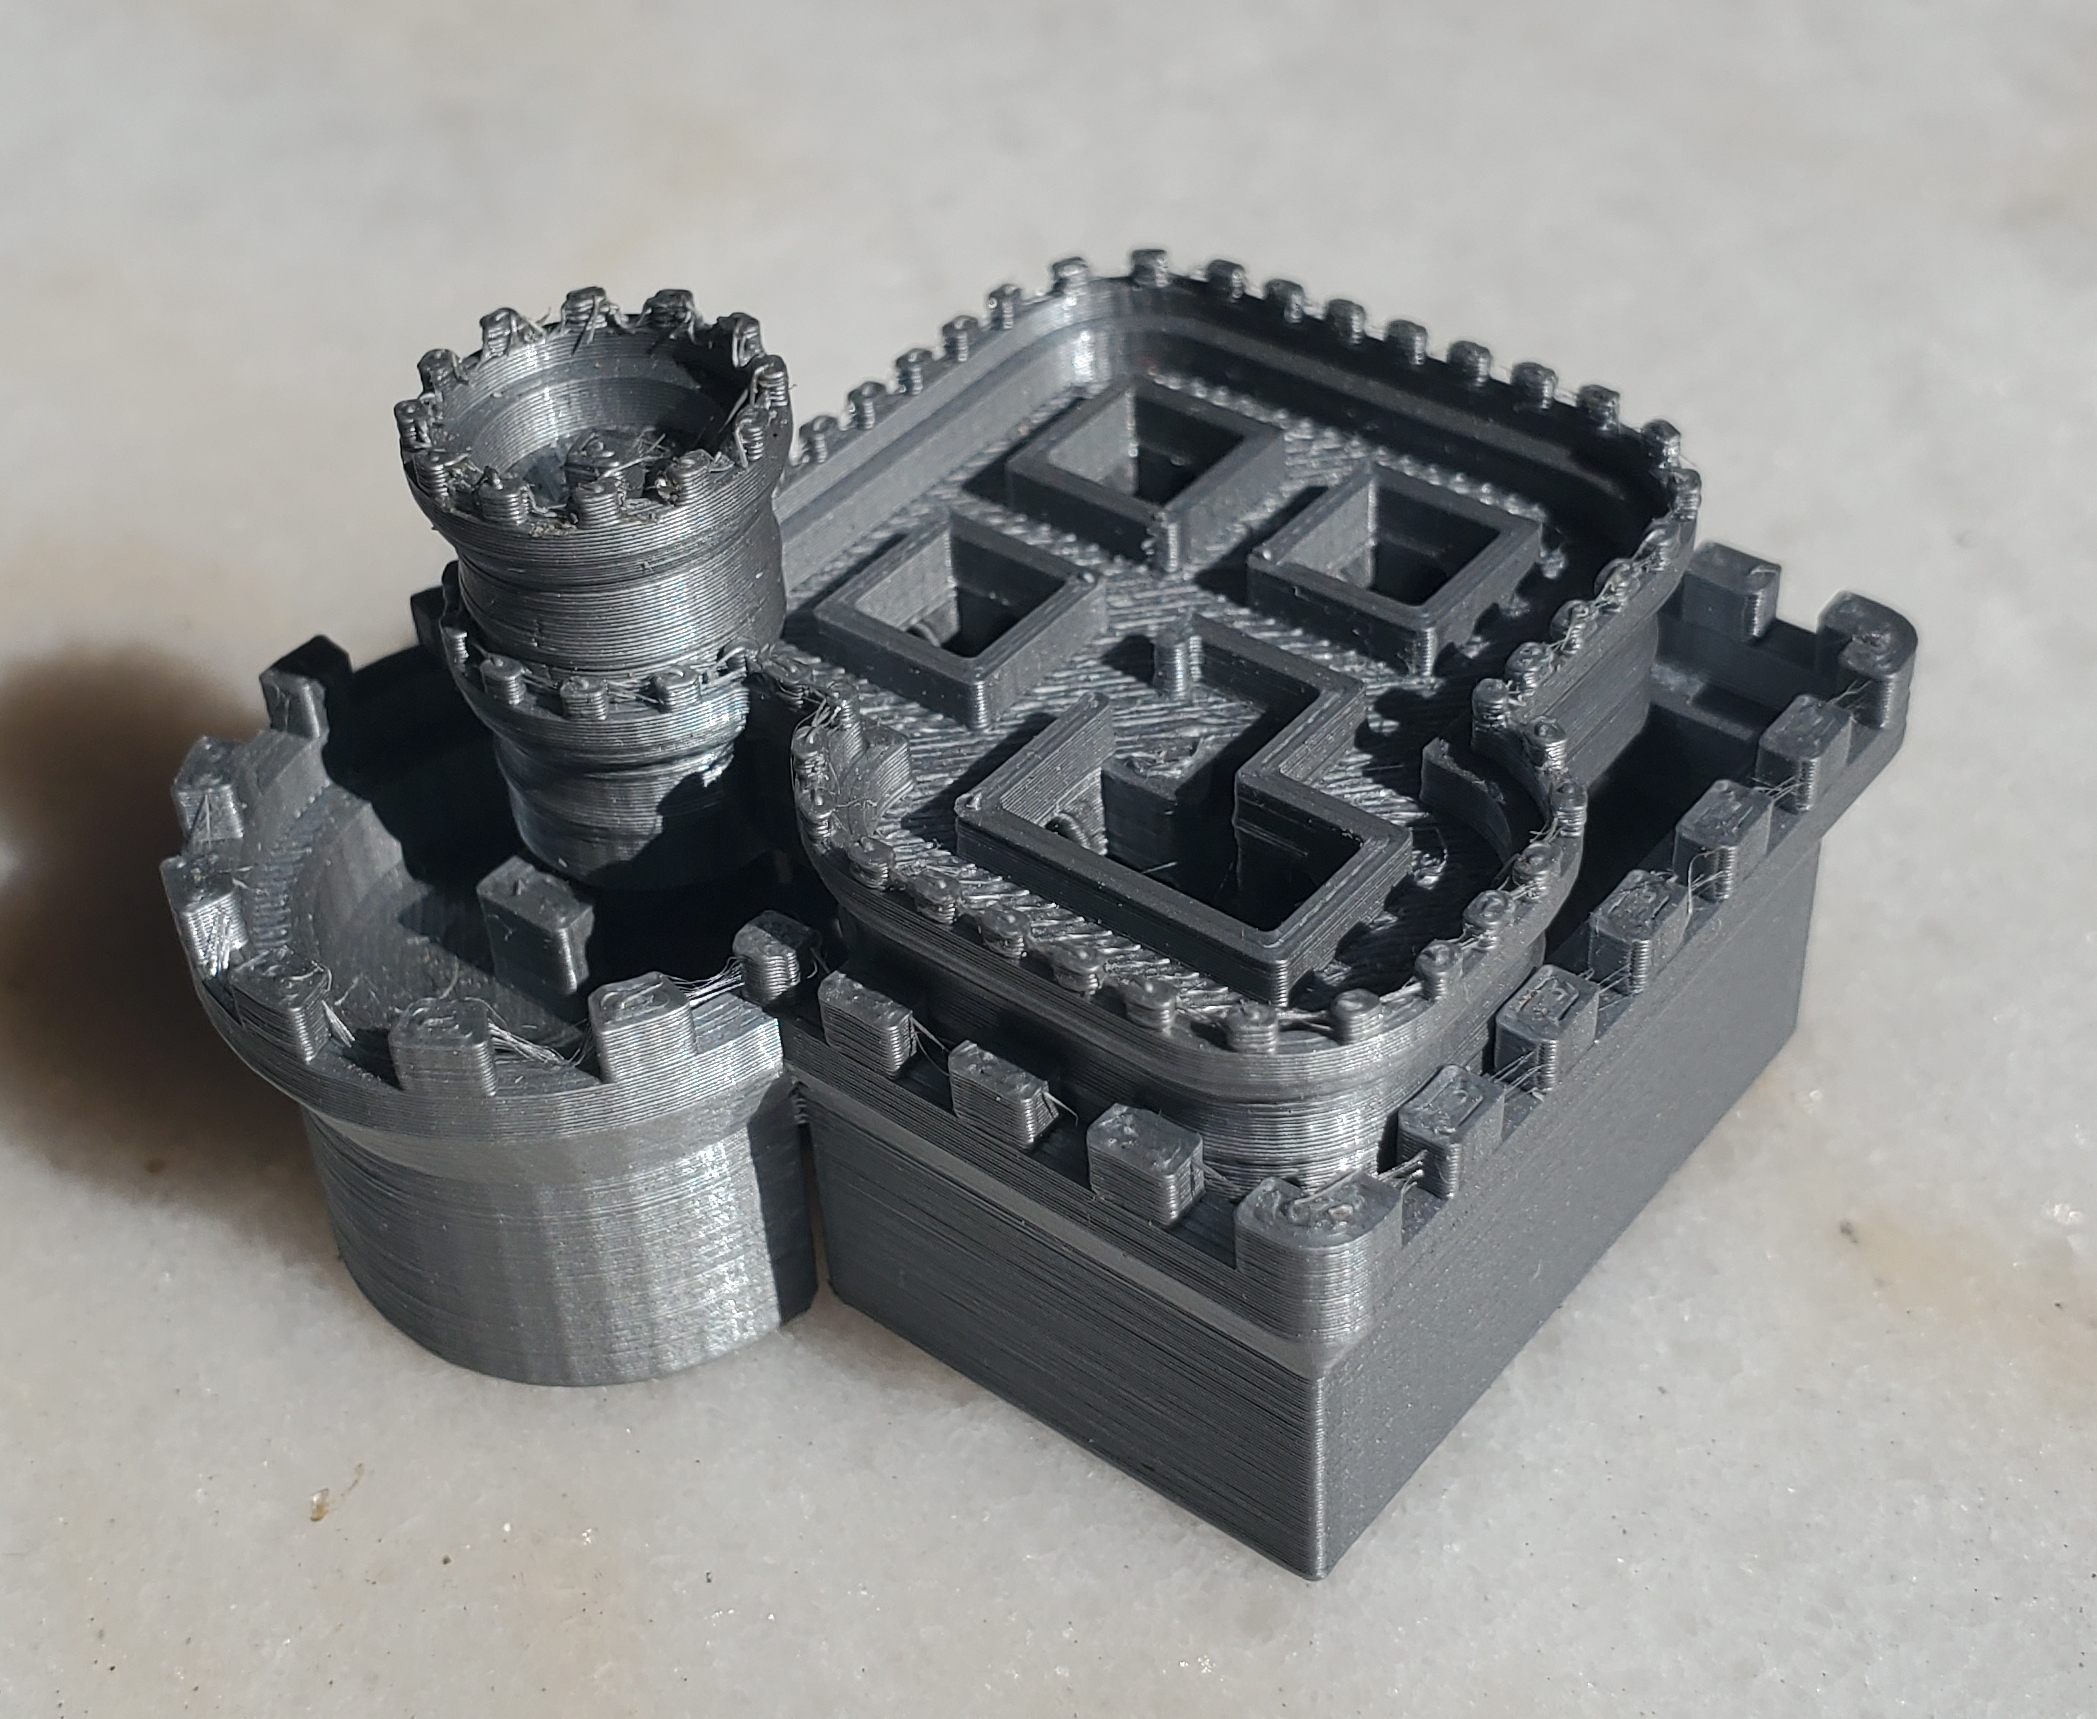
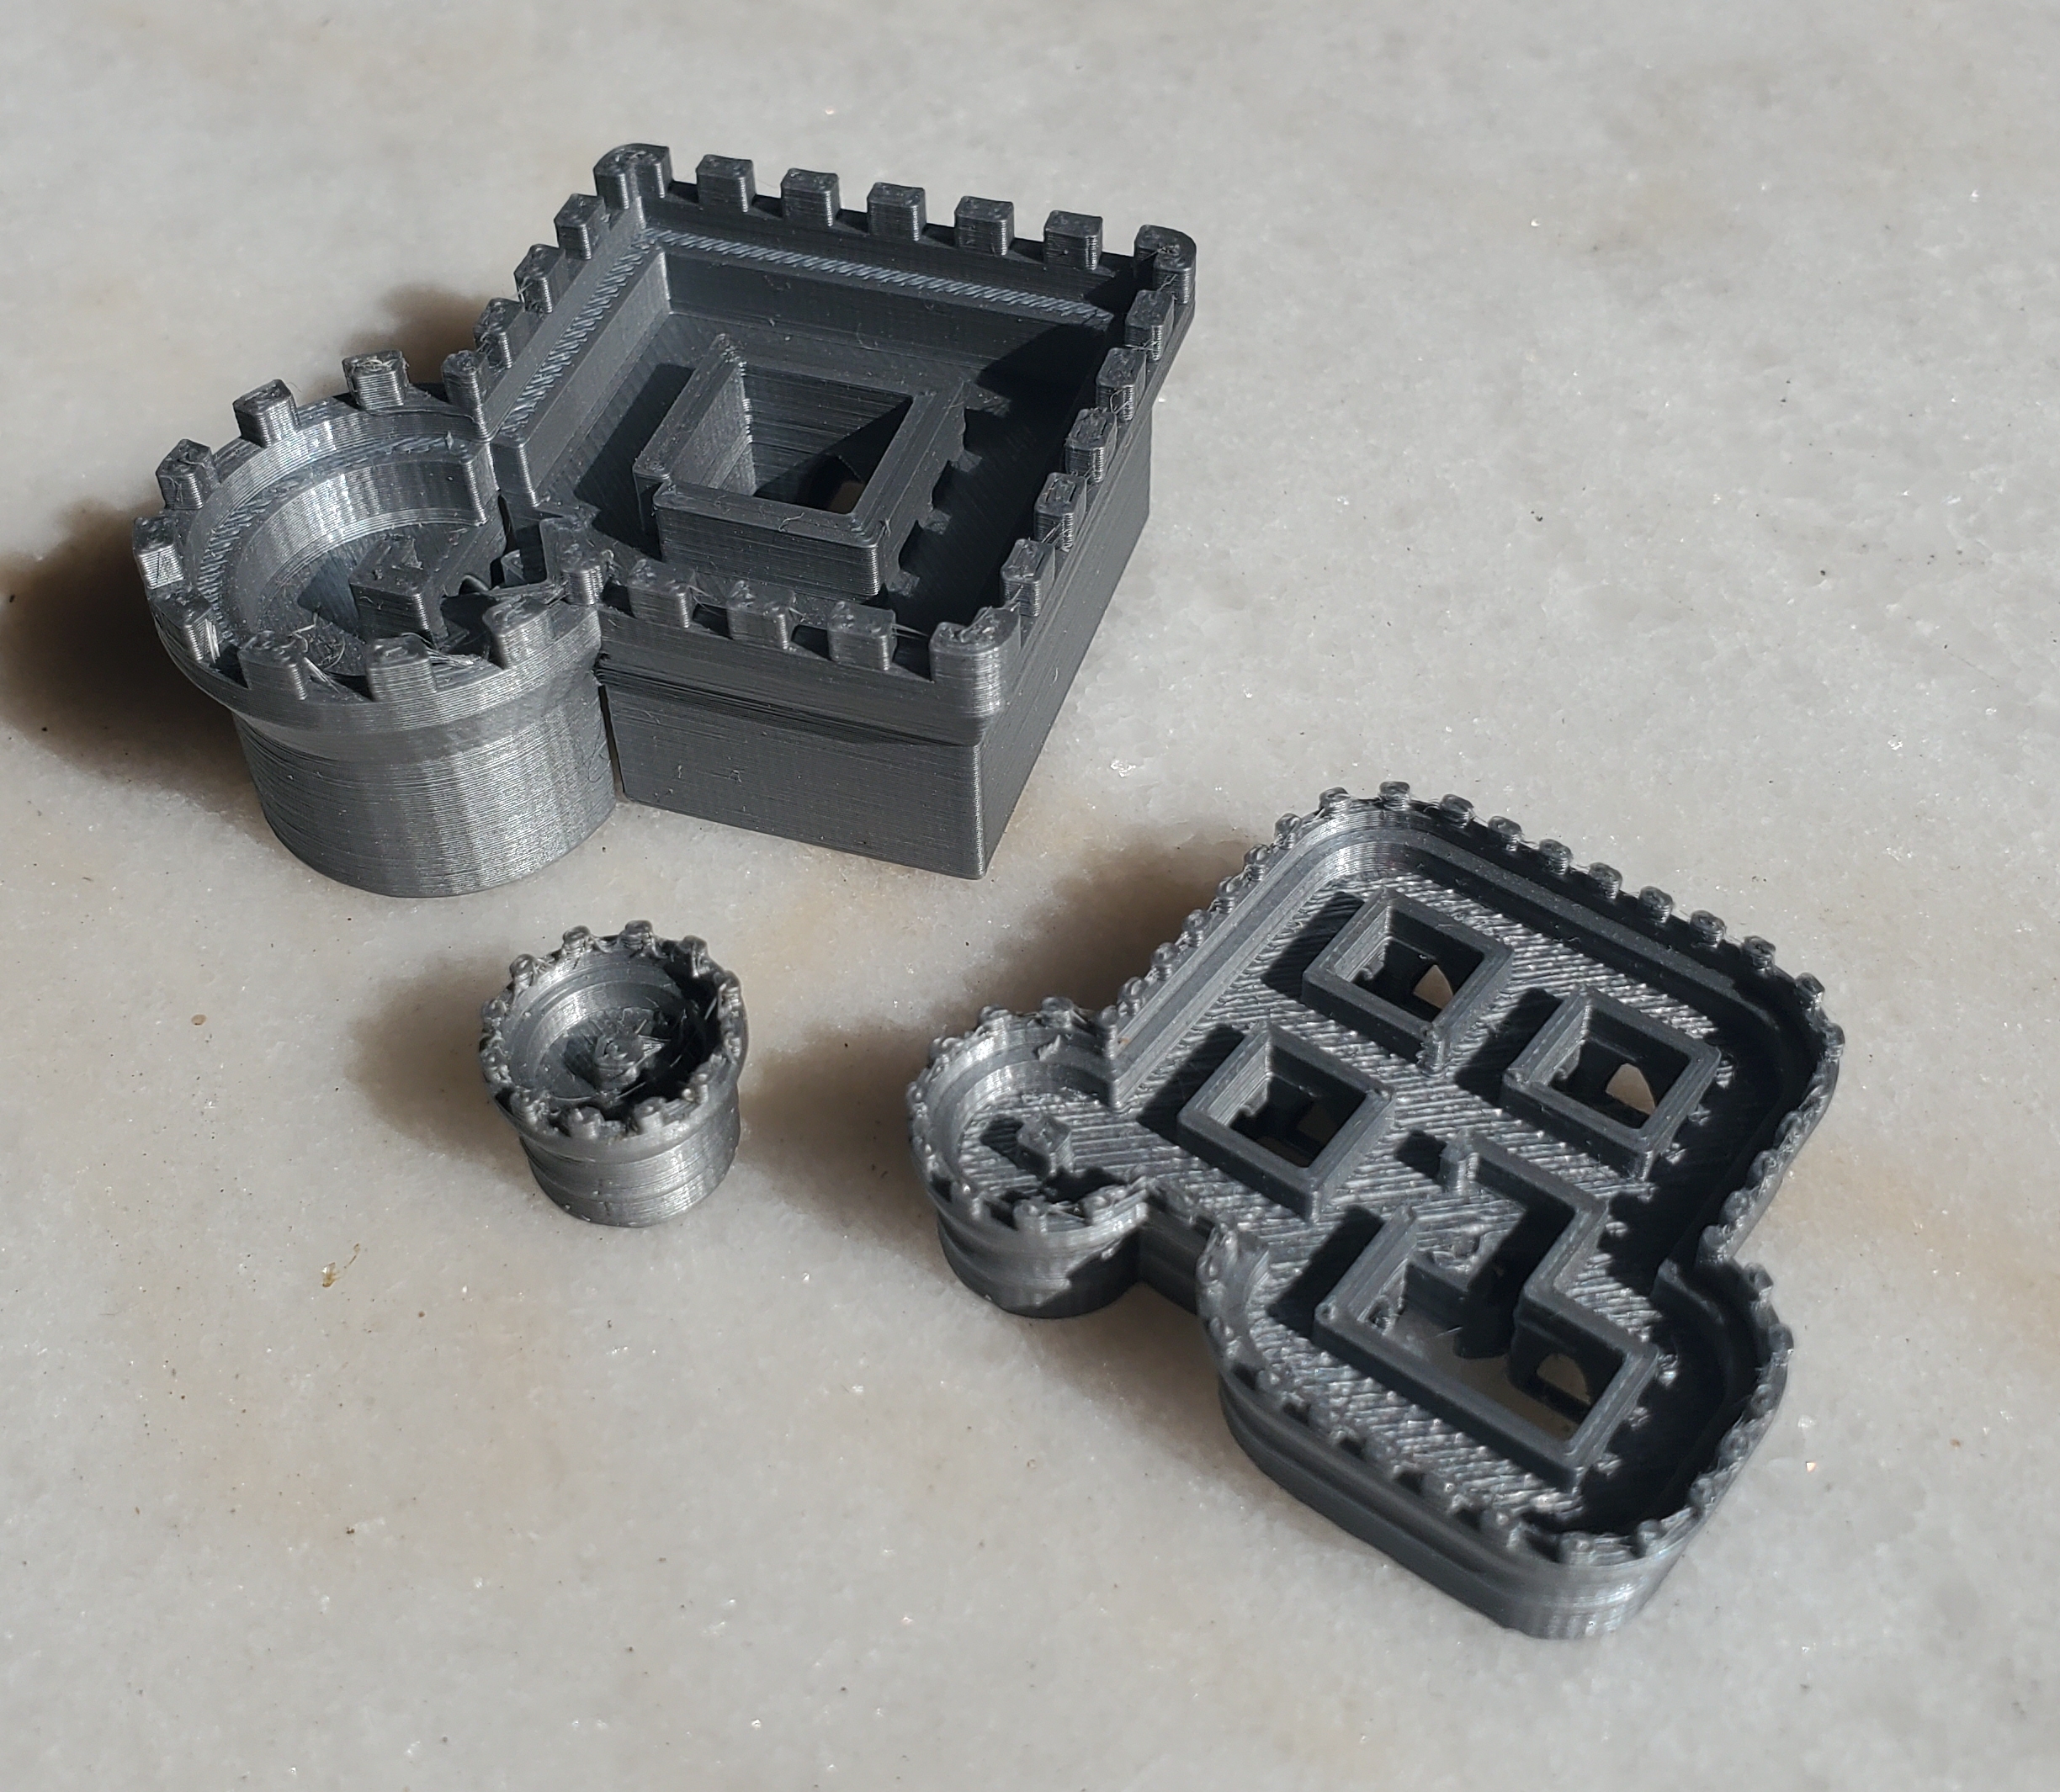
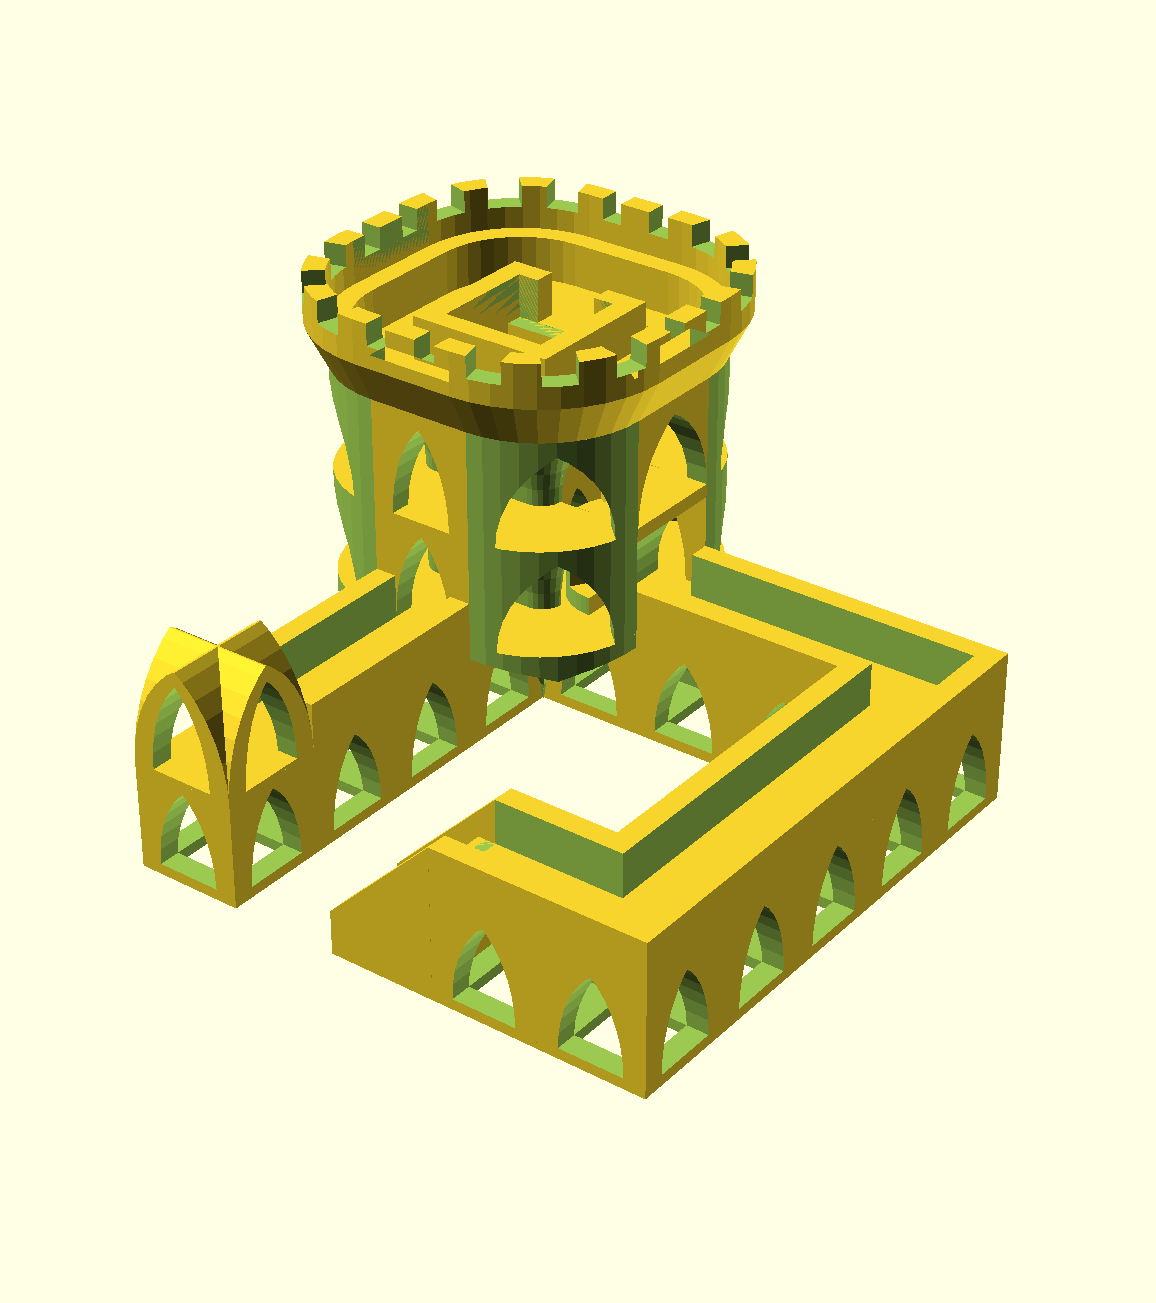
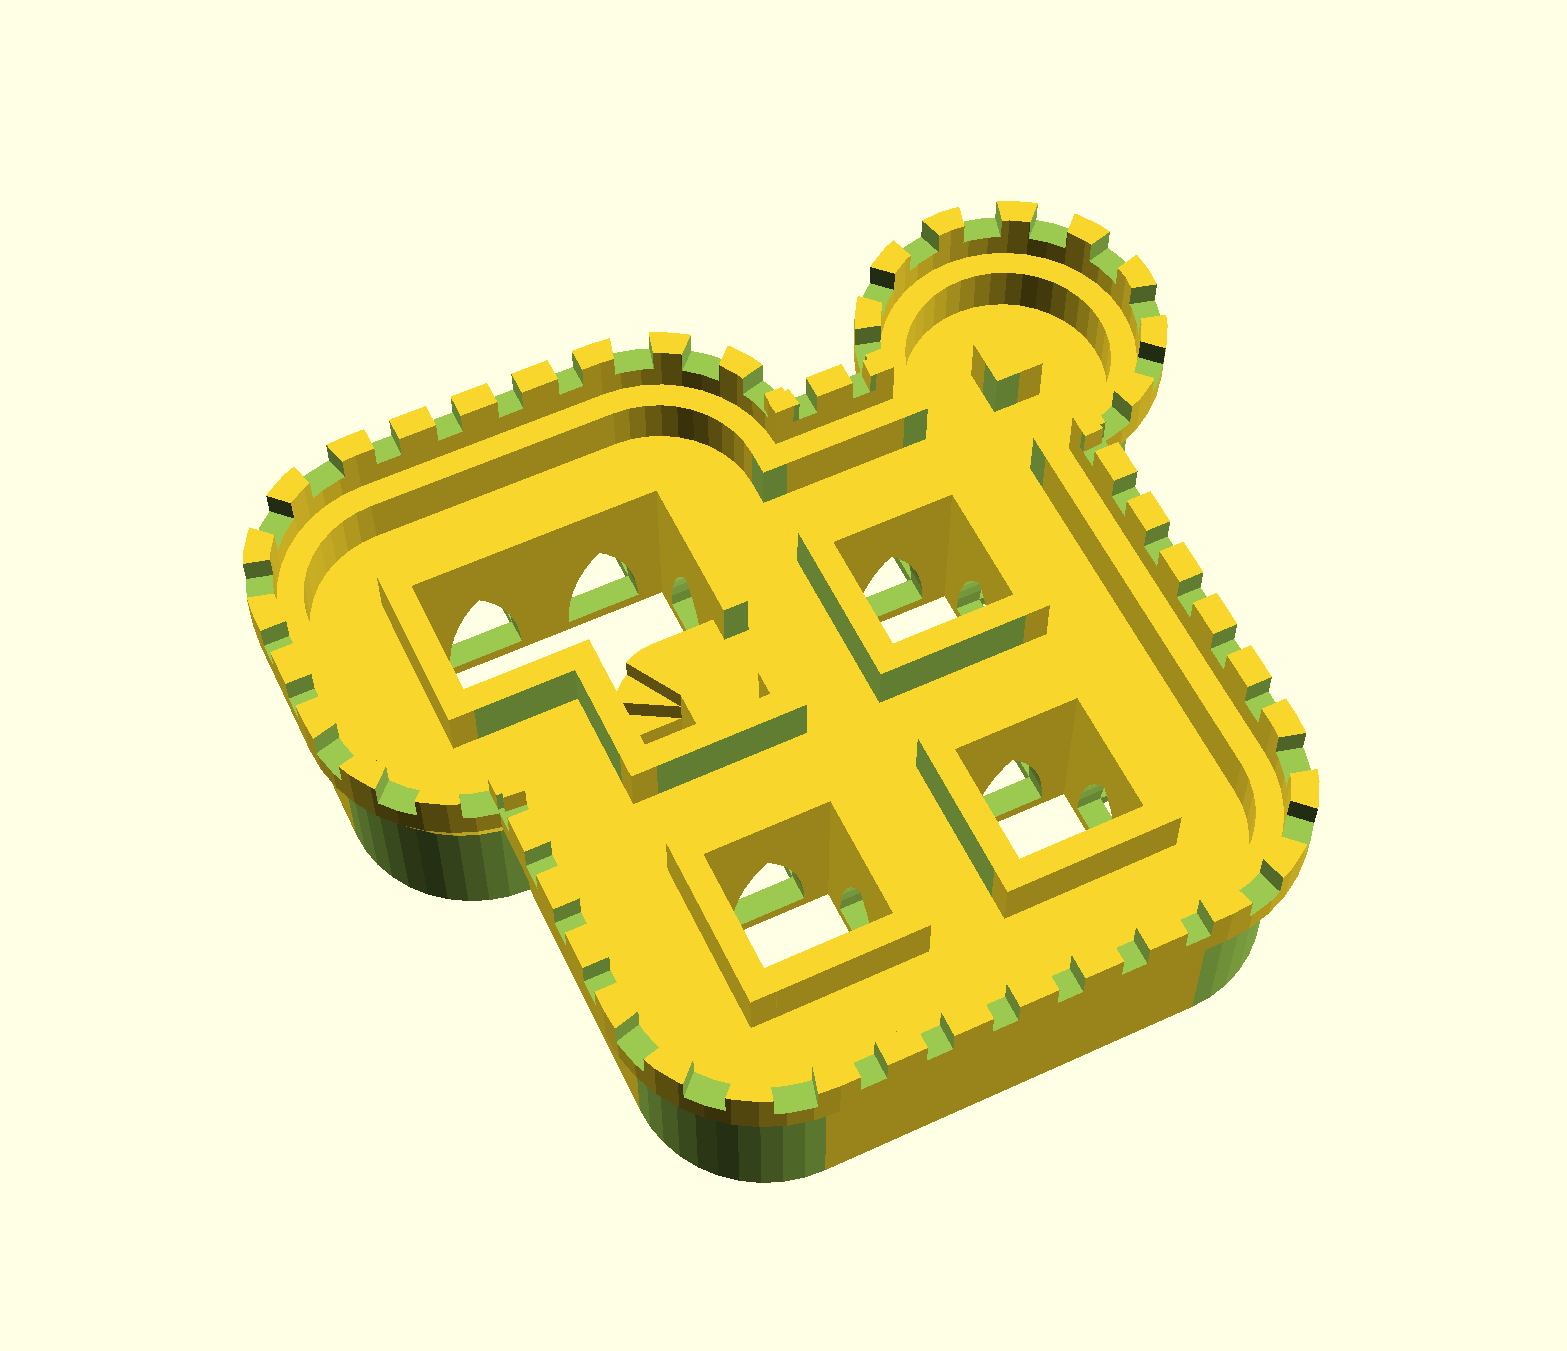
Parapet works with a single size of block, and so by default all models will print at the same scale. However, you can choose to print at different scales and take advantage of the fact that in blocks with parapets, the parapet always lies exactly outside the usual block boundary. This means that if a parapet encloses an 2x2 block area, a 4x4 model printed at 50% scale will exactly fit inside the parapets. See the Gallery for an example.
- Smart Dragging
-
If you drag out a path on the Design Grid and the current shape is any of Cross, Pipe or Corner, Parapet will correctly place shapes of the correct type to make a sensible design.
Currently Parapet will only place blocks of the above types plus Tee, and will use the current selected variant of each type. This means you can draw out a parapetted wall, a low wall, regular blocks, etc. A future enhancement will allow you to select any block for each logical type, so you will be able to place stairs at each corner, for example.
- Official Scary Warning
-
This is free, beta software. All care has been taken but no responsibility is taken for the loss of your precious models due to errors in the software. Backup early and often (although there's no facility for restoring backups at this stage...)
I don't have much experience writing mobile-friendly web pages, so I don't know why omitting this paragraph makes the rest of the text tiny. But here we are.
- @parapet3d
- YouTube
- Parapet
- Play Store
- Parapet app download
- Printables
- Parapet models
- parapet-app@proton.me
- Privacy
- Privacy Policy
- Armature
- Armature
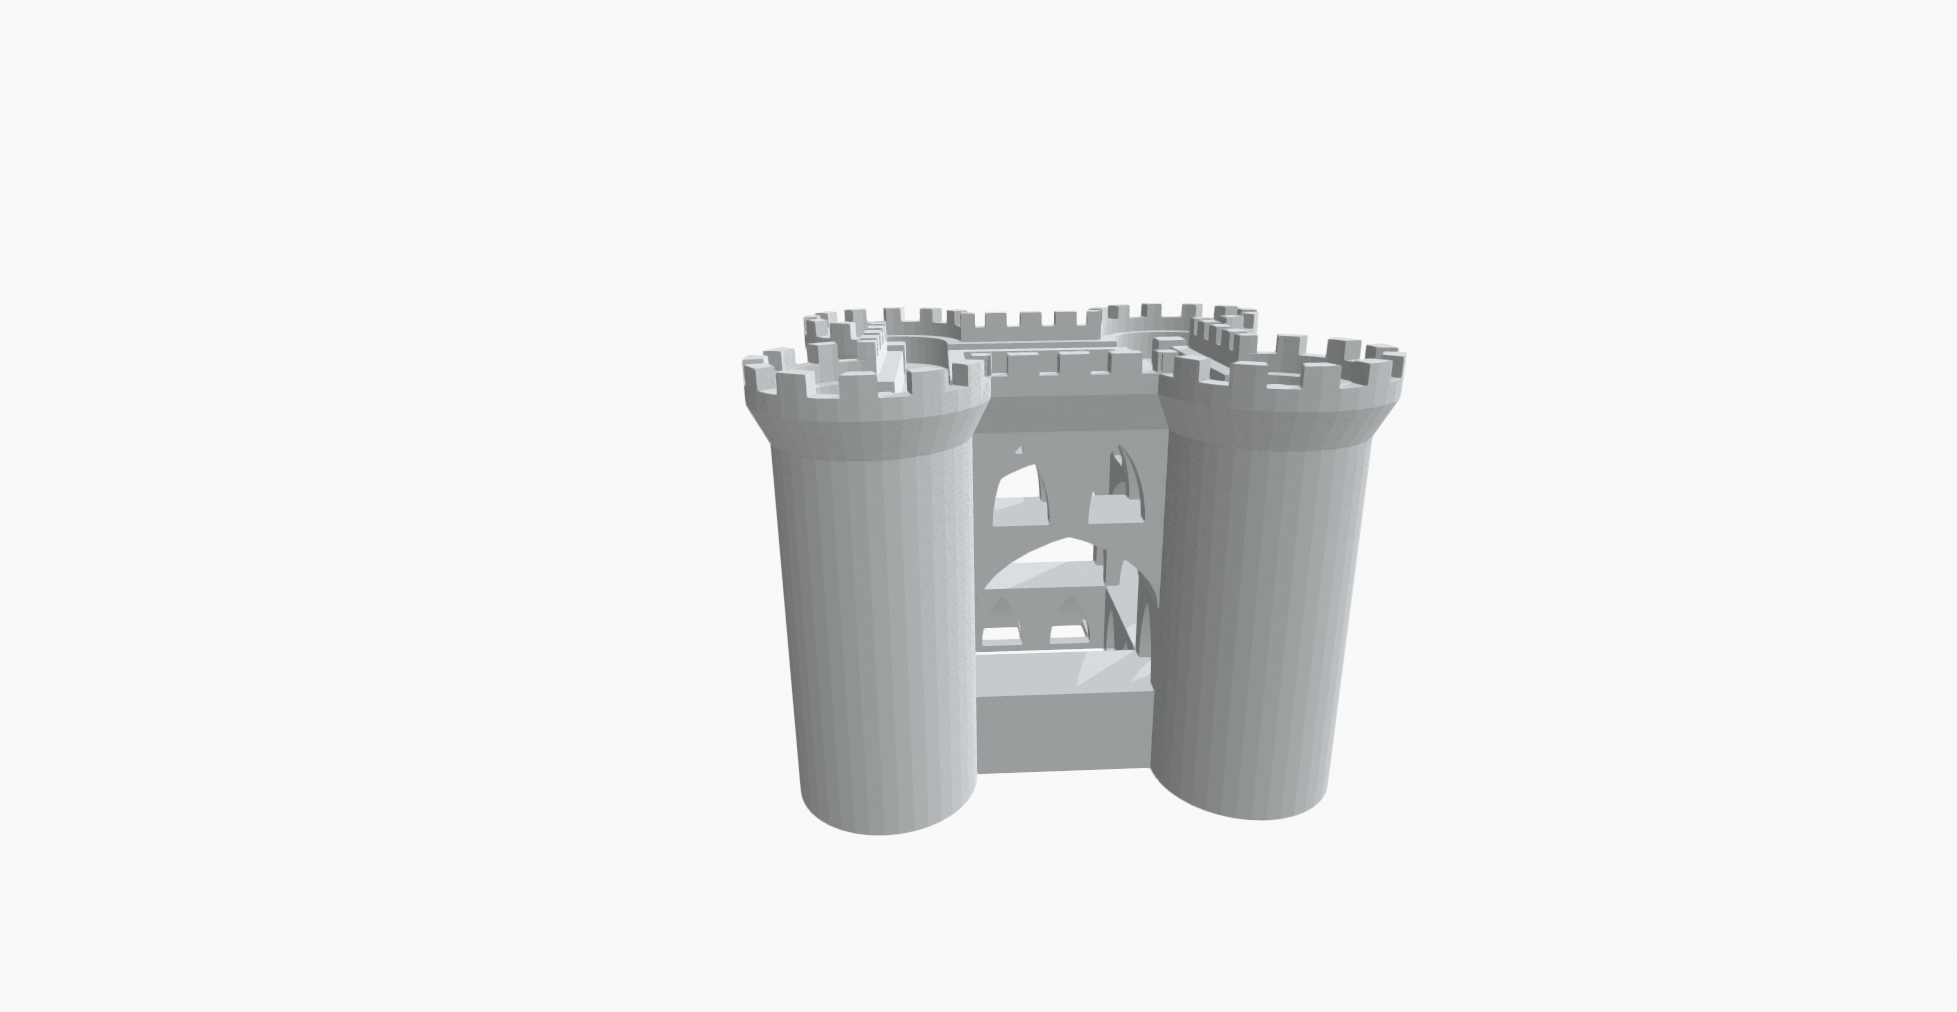
Forgive the poor printing quality on some of these models; it's no reflection on Parapet, just that I haven't taken the time to get the settings right (yet).